
Install Windows 11 on a 2015 MacBook Pro
10/25/2022 – This guide is outdated and a new one has been written.
For a much simpler and smoother install process that works for any Intel Mac that can run Windows 10, please check out my newer article Install Windows 11 on any Intel MacBook Pro, MacBook Air or iMac.
Prerequisites of this guide
This guide assumes you already have Windows 10 installed with Boot Camp. If you need help with this initial step, Apple provides instructions on its Boot Camp Support Page.
Guide Compatibility
My machine is a mid 2015 MacBook Pro. It is the final model of the 3rd Generation of MacBook Pros (“MacBook Pro with Retina display” as Apple labeled it). This generation runs from mid 2012 to mid 2015. There is a chance these steps work on other models in this generation, but I personally am unsure. All I know is these steps worked for my mid 2015 model. If you are on a different machine than mine, I can’t guarantee this guide will work. Either way, follow at your own risk.
Thank you
At the bottom of the article I list my acknowledgement and thanks to everyone who helped me create this guide.
Note regarding the tool used
I completed the process of upgrading my Windows 10 Boot Camp install to Windows 11 back in October 2021. Since then, the Github tool has been updated and the install process may be slightly different from what is explained in this guide. Both of the links below are to the Github repo of the upgrade tool. The first link goes to the latest version of the tool, while the second one links directly to the version I used. If you’re interested in following the steps exactly as I performed them, download the tool via the second link.
Download MediaCreationTool.bat from GitHub
Latest Version
https://github.com/AveYo/MediaCreationTool.bat
Guided Version
https://github.com/AveYo/MediaCreationTool.bat/tree/a21ed3c420dbc4797908c23505f1c0498bd816ec
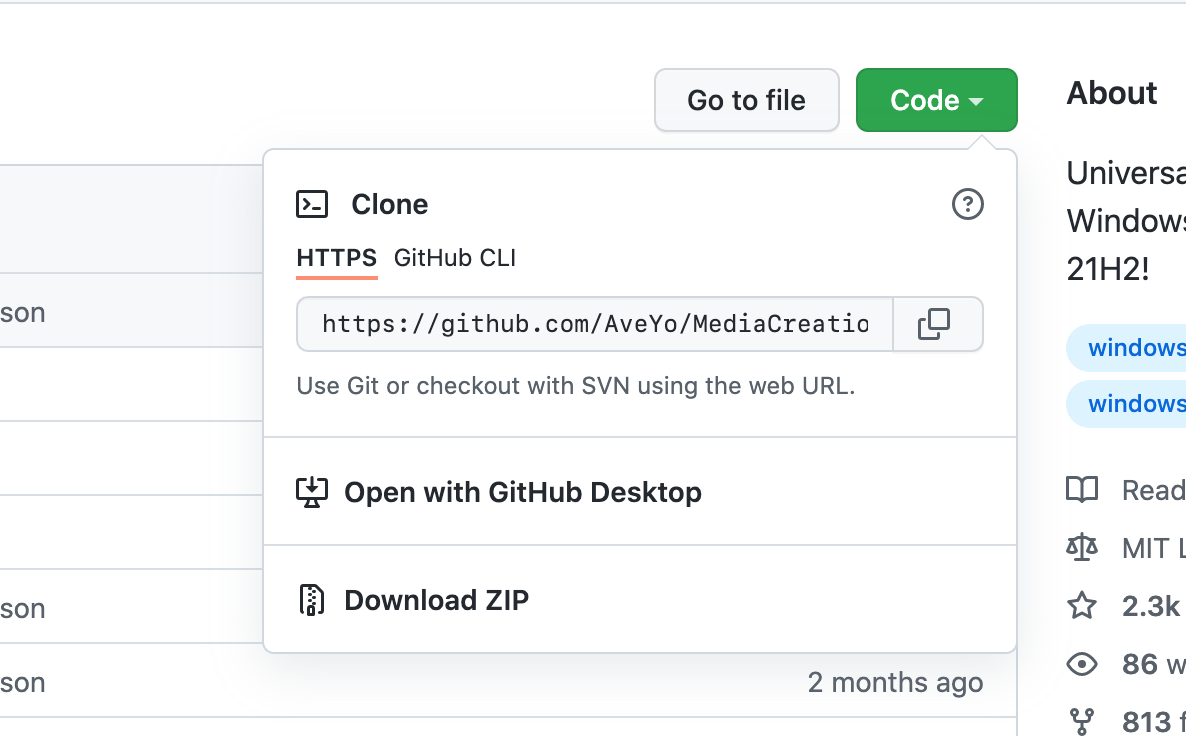
Once at github.com, click the big green “Code” button, followed by “Download ZIP.” You should be booted up in Windows 10 for these steps.
Unzip the file and navigate into the unzipped folder.
Next Steps
The following steps are exactly the ones I took to successfully install Windows 11 on my mid 2015 MacBook Pro with Boot Camp. These steps require downloading MediaCreationTool.bat from the second link above (this one), not the first. Again, Windows 10 needs to already be set up on your machine.
Let’s Begin
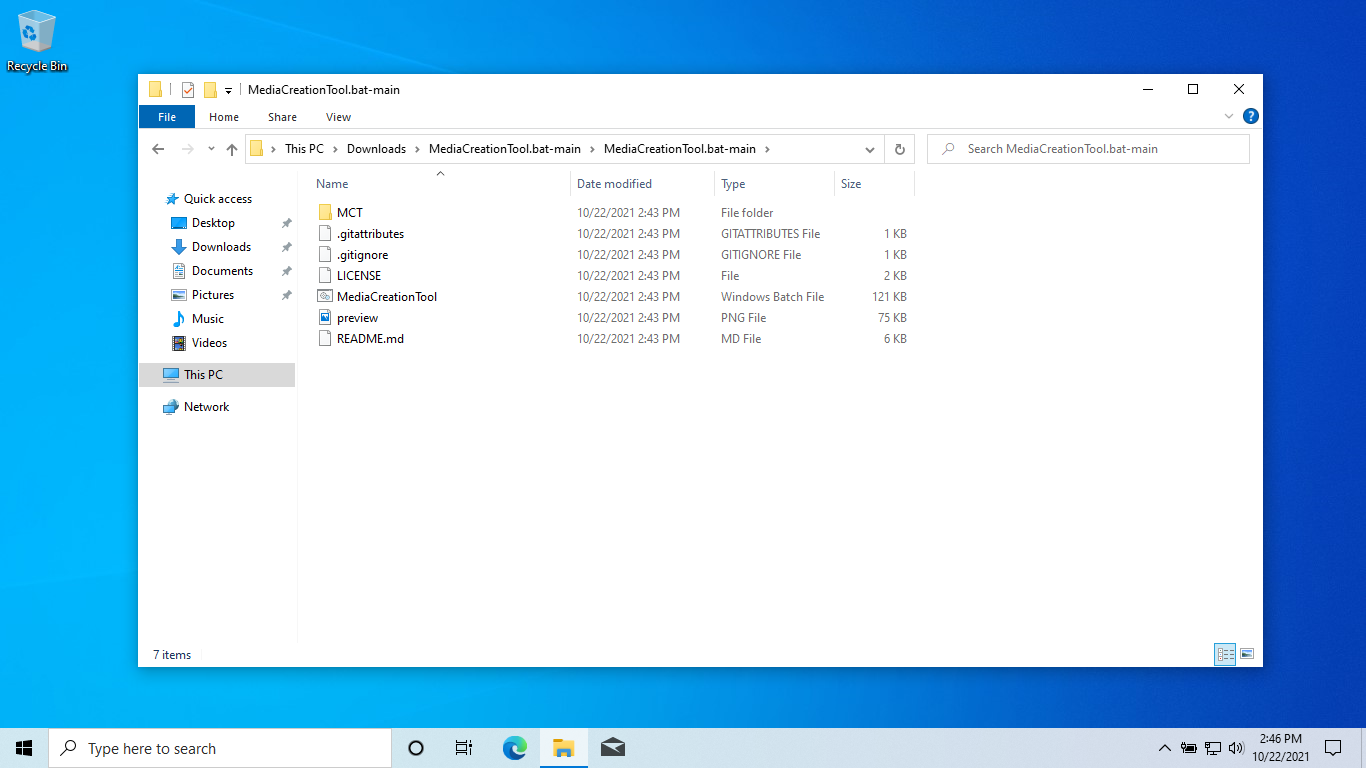
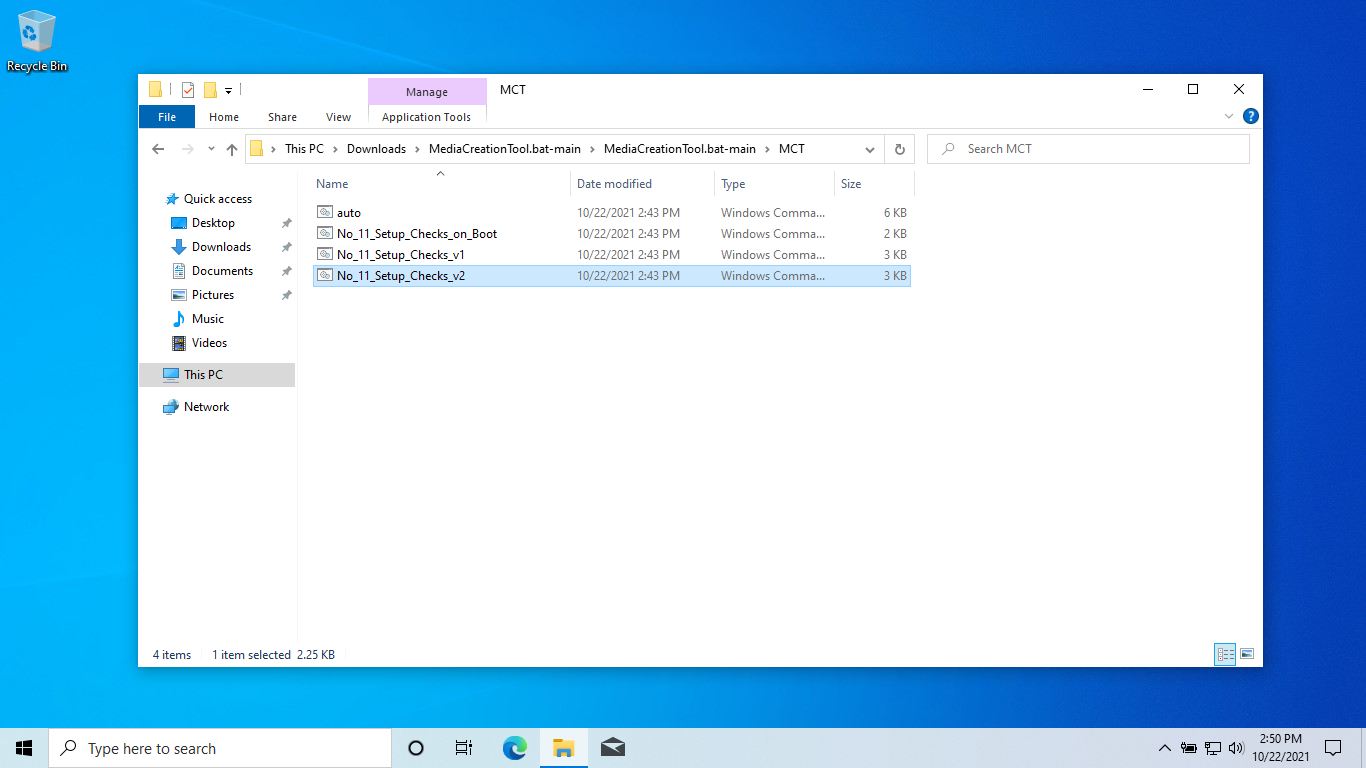
Unzip the downloaded file and open up the directory. This is what the contents should look like.
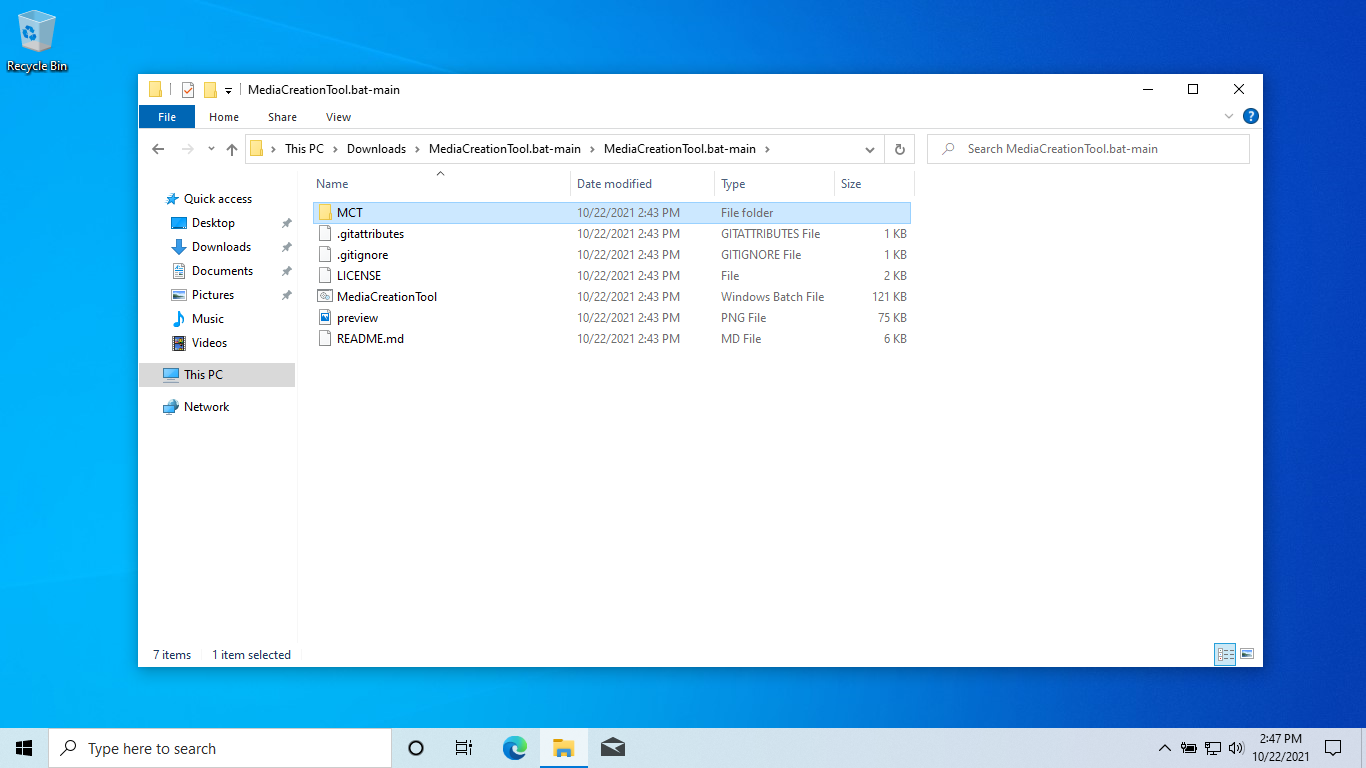
Open the MCT folder.
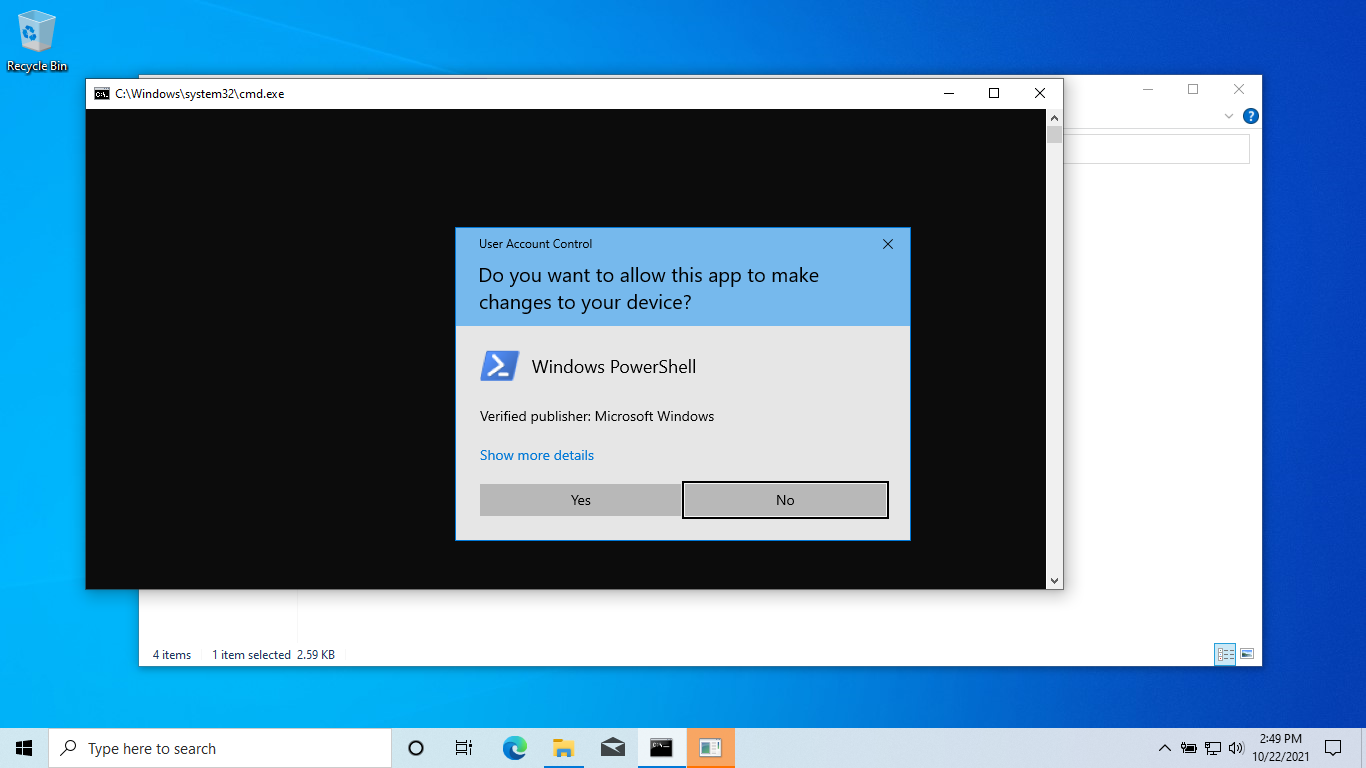
Double-click No_11_Setup_Checks_v1.cmd to run it.

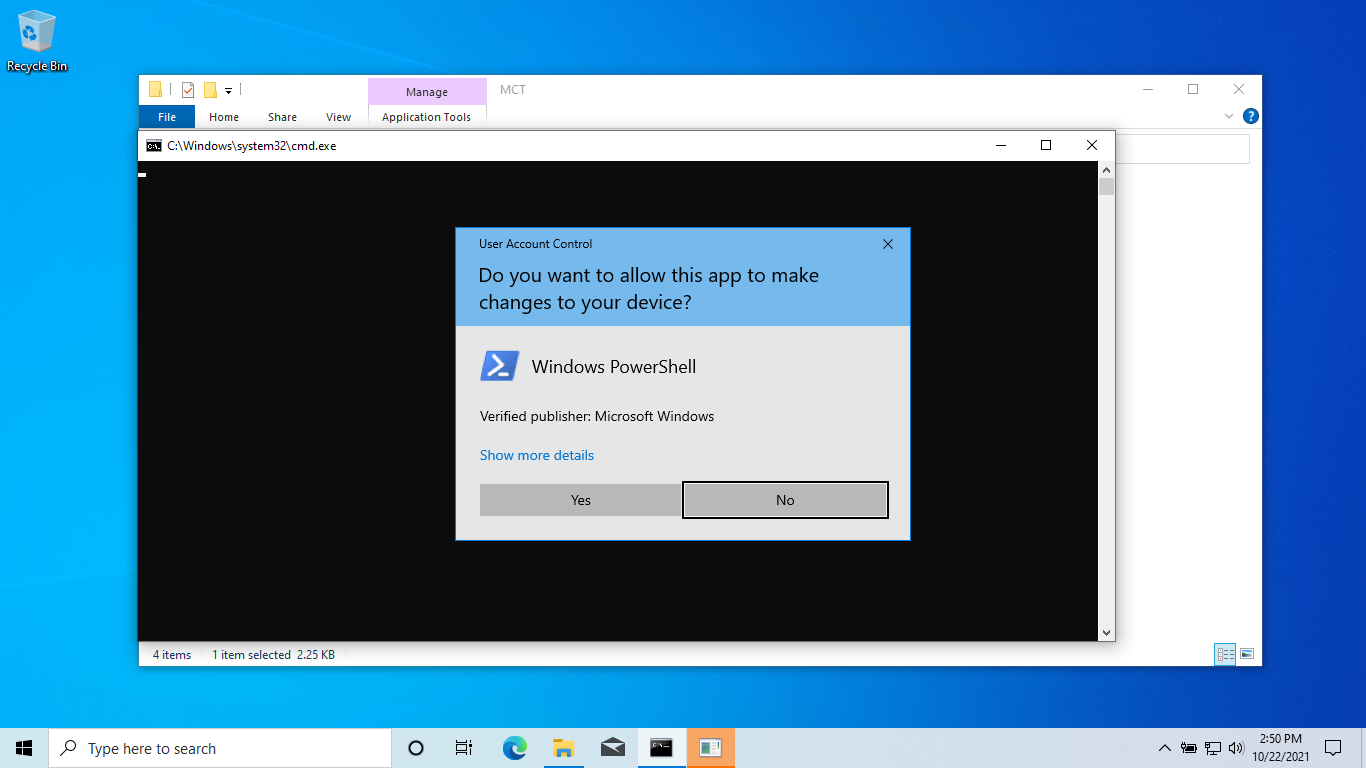
A prompt will pop up asking if you want to “allow this app to make changes to your device.” Click Yes.
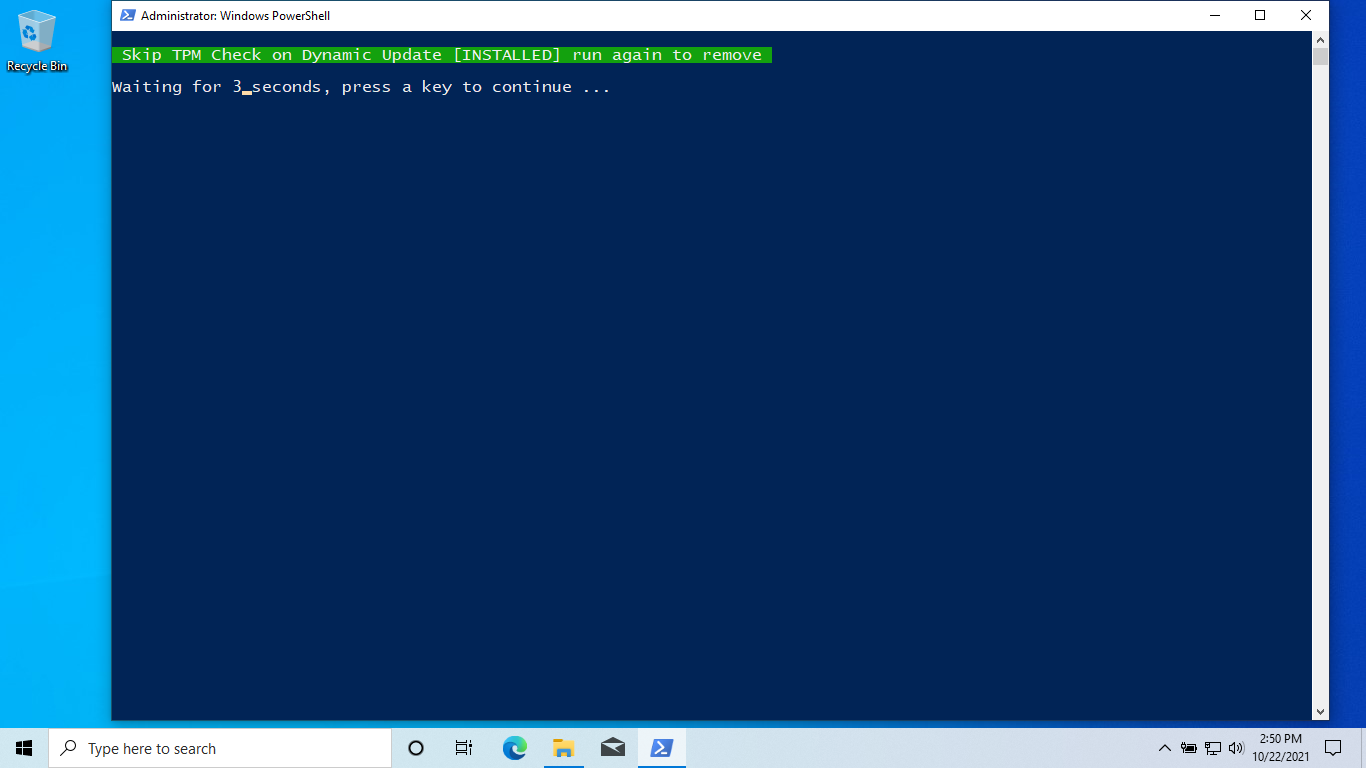
After clicking Yes, this PowerShell window will appear. Once it does, just hit Enter on your keyboard and it will then close.
Next, double-click No_11_Setup_Checks_v2.cmd to run it. Honestly I’m not sure the difference between these two files, but running both worked for me.
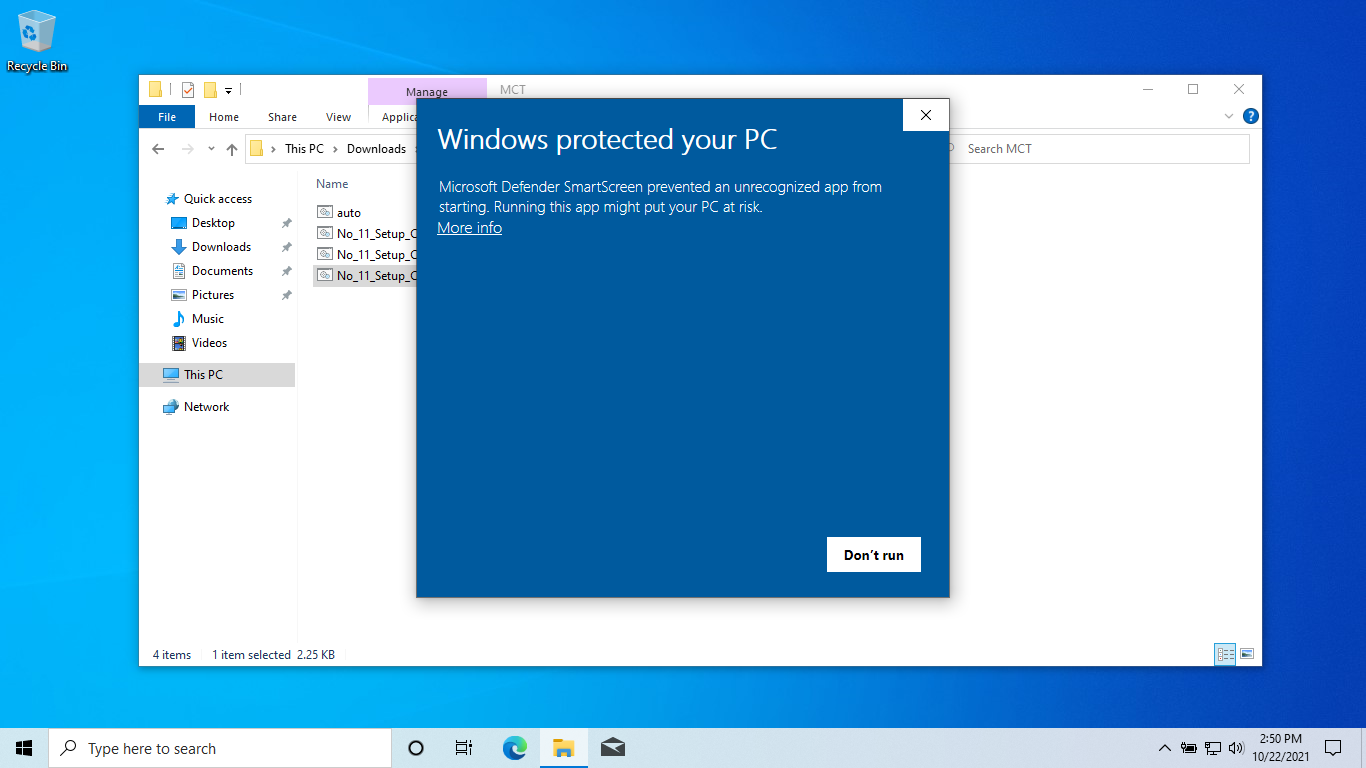
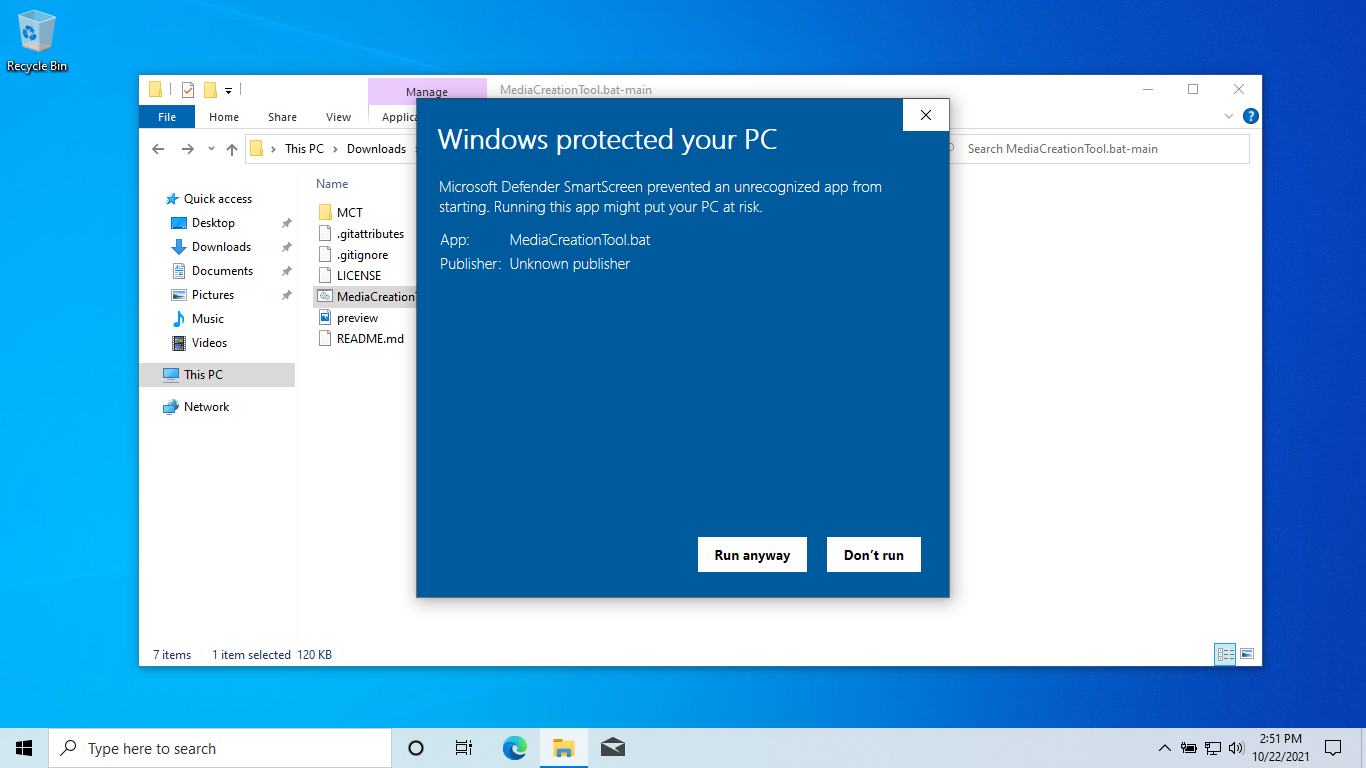
This time a different prompt will appear, saying “Windows protected your PC.” Click “More Info” and then “Run anyway.”

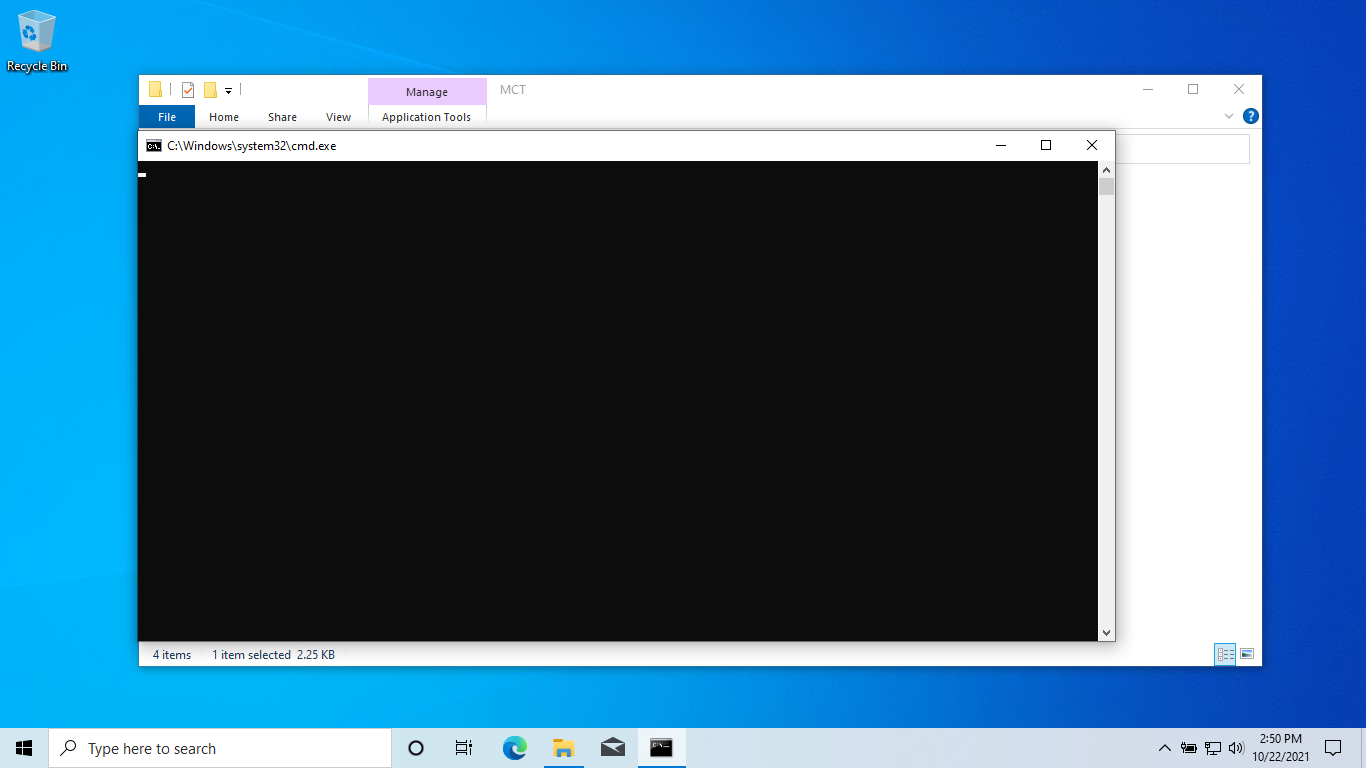
A blank Command Prompt will appear.
Immediately after, another “Allow” prompt will appear. Select “Yes.”
Then a PowerShell window similar to the No_11_Setup_Checks_v1.cmd will appear. Press Enter and it will close itself.

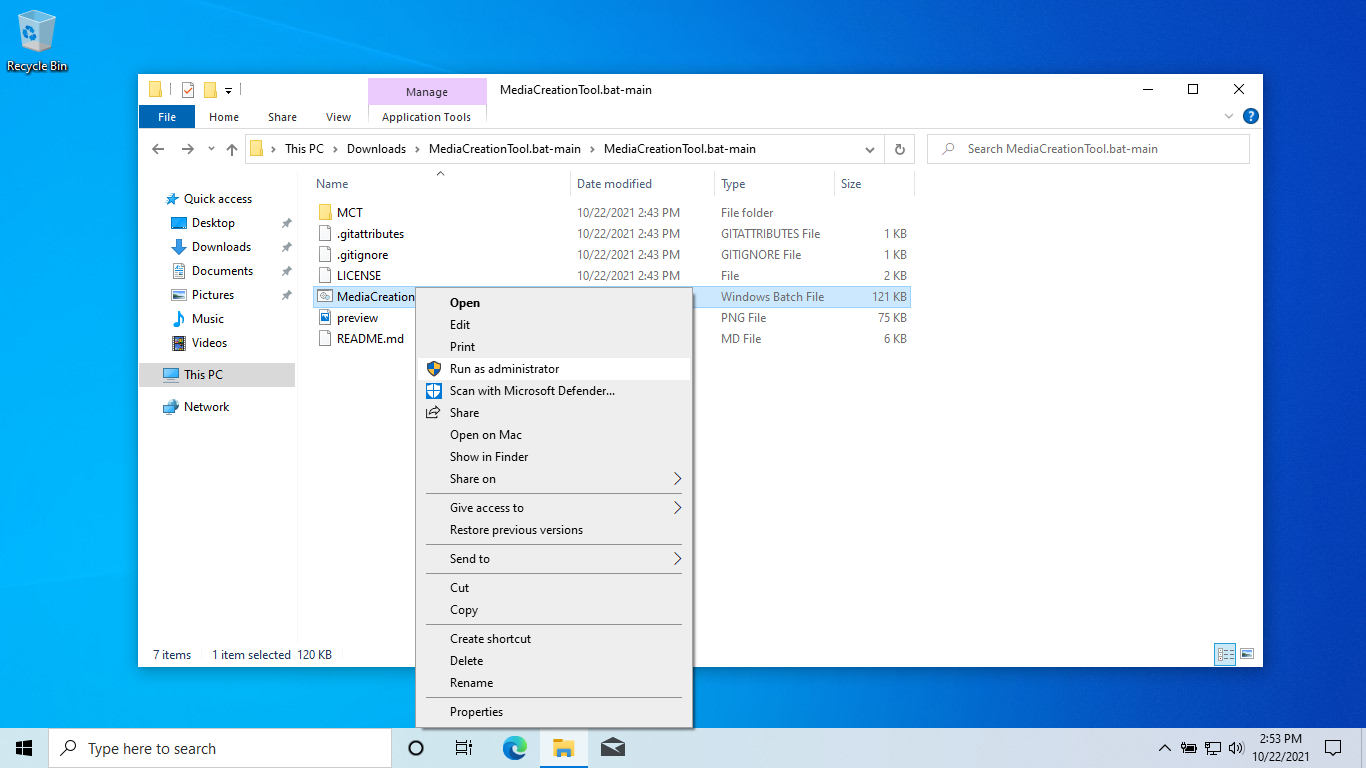
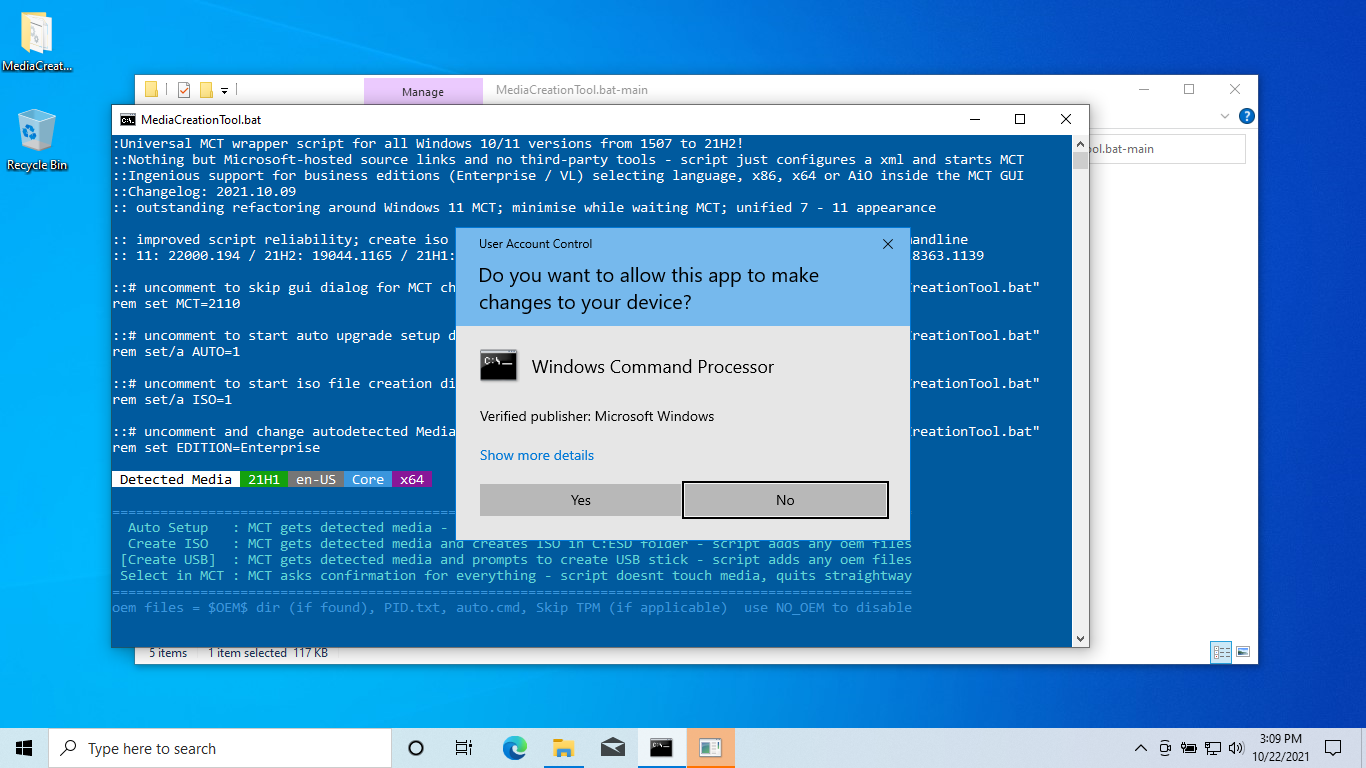
Go back to the main top-level folder. Right-click MediaCreationTool and select “Run as administrator” to run it.
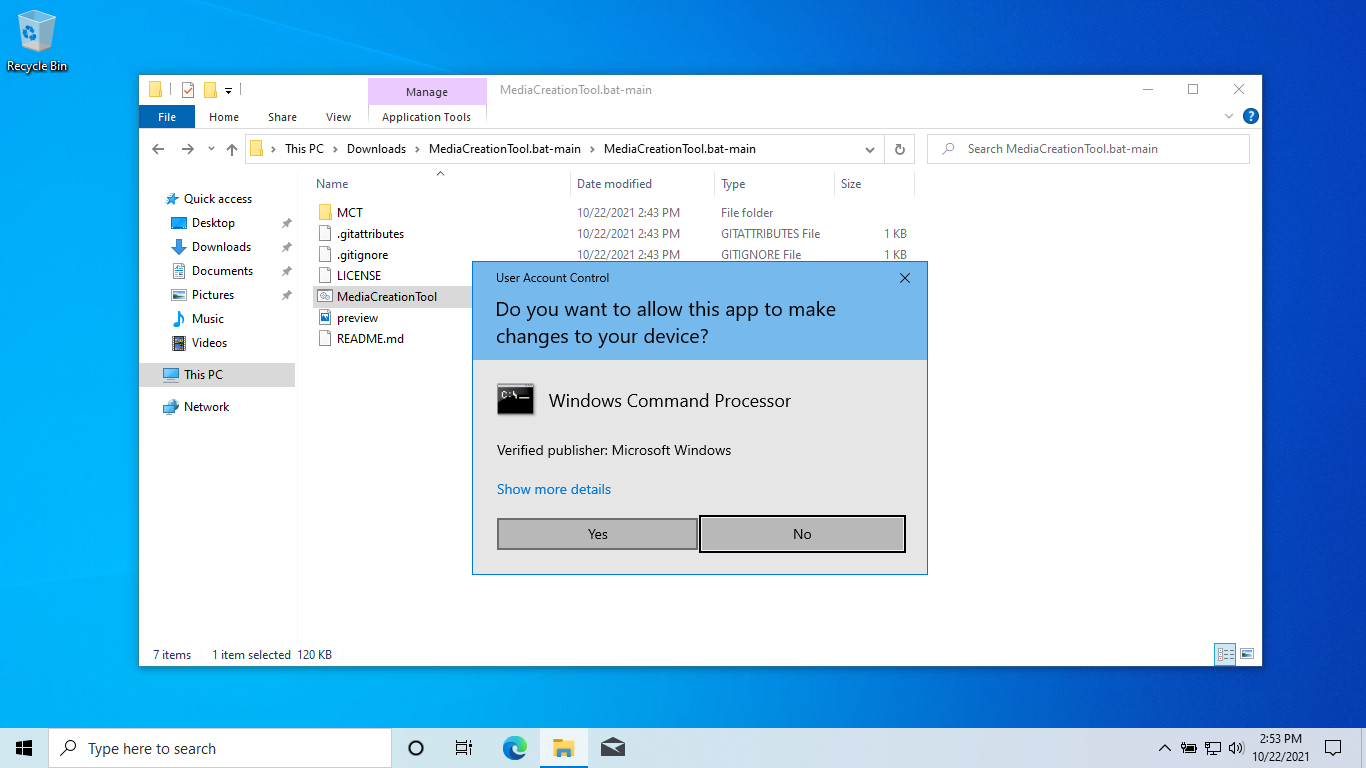
A prompt will appear, asking if you want to allow this app to make changes to your device. Select Yes.
Another “Windows protected your PC” pop up will appear. Click “More info.”
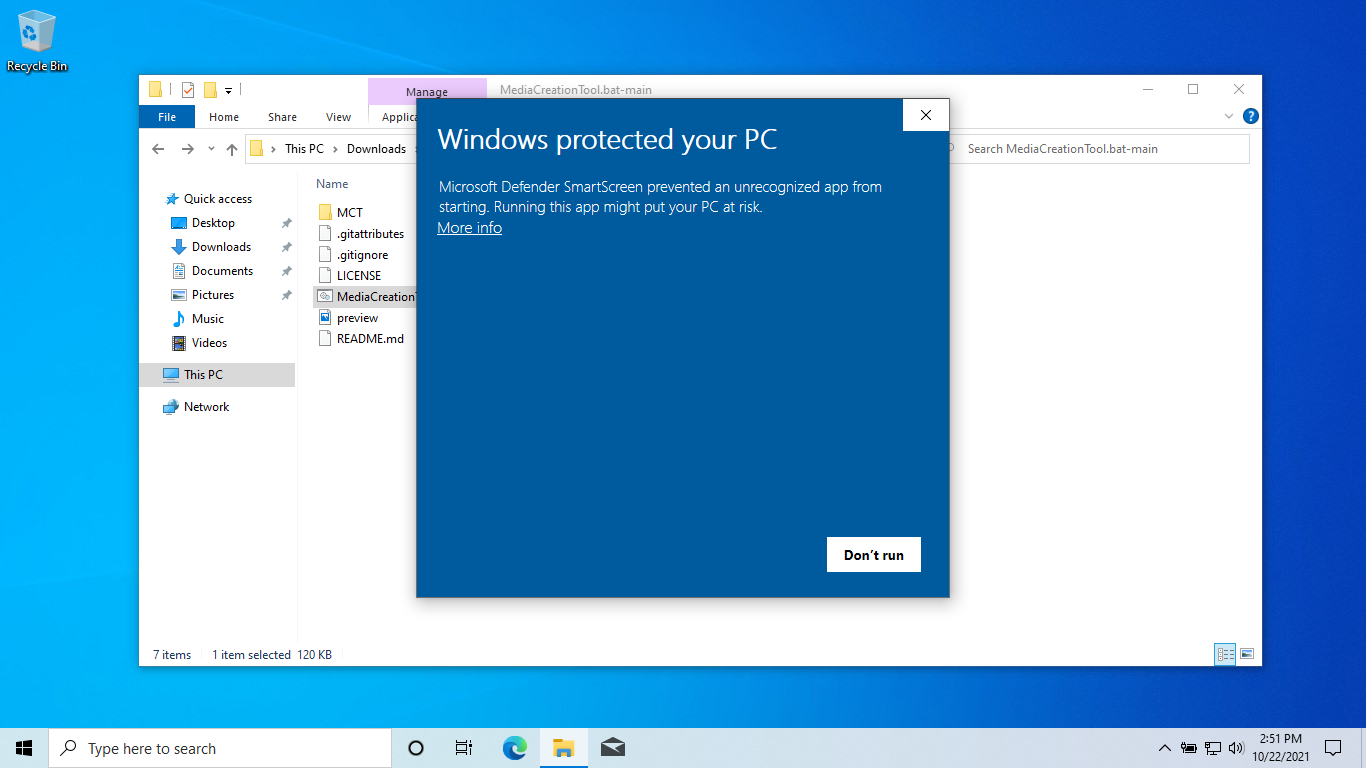
Then click “Run Anyway.”
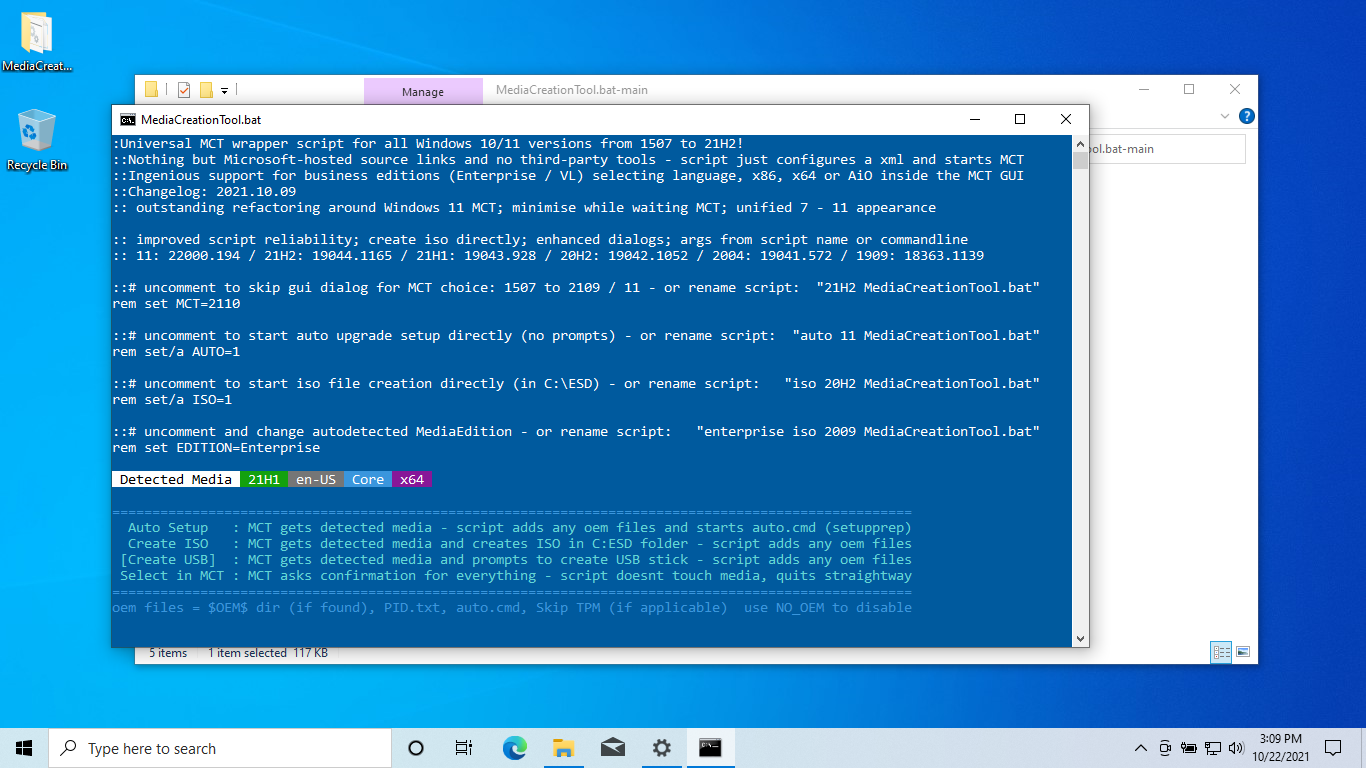
Next this blue MediaCreationTool window will appear. It pauses for a moment.
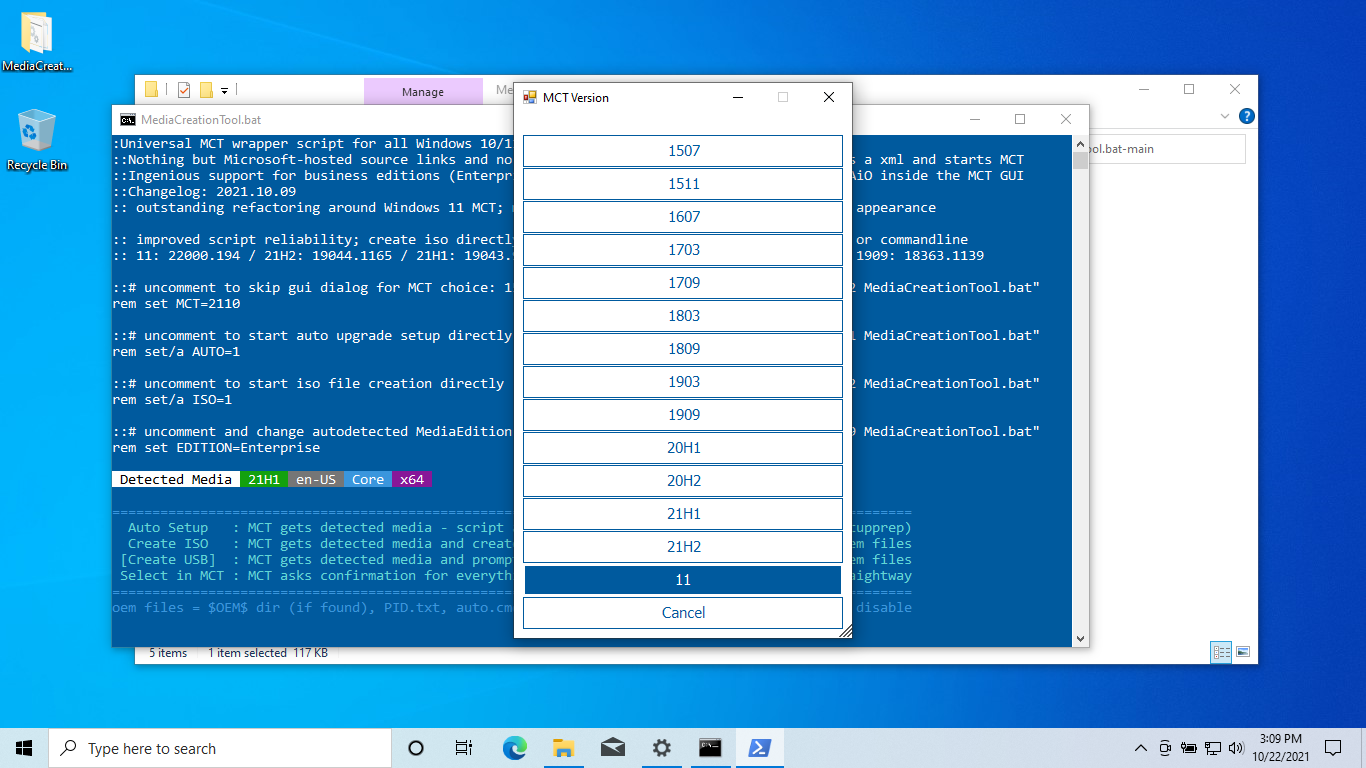
Then a GUI window will pop up. Select “11” at the bottom of the list.
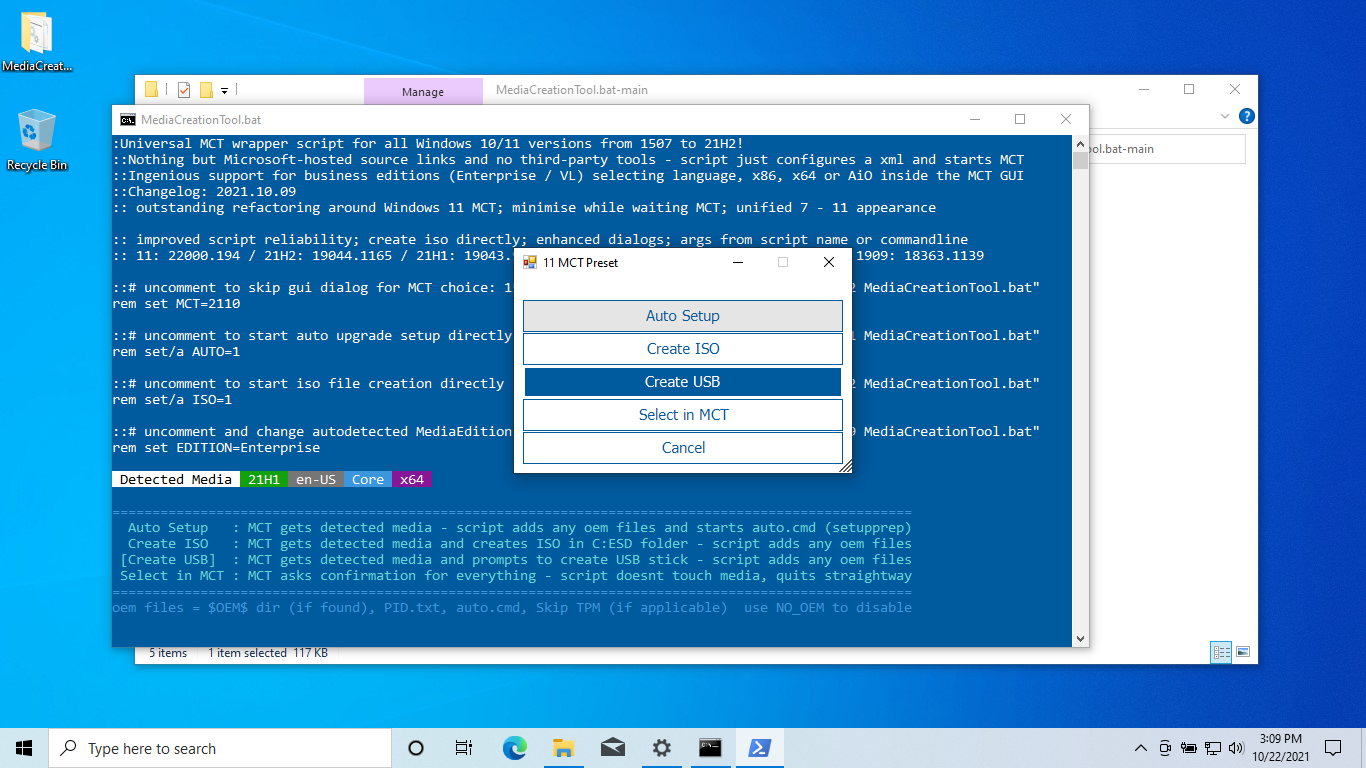
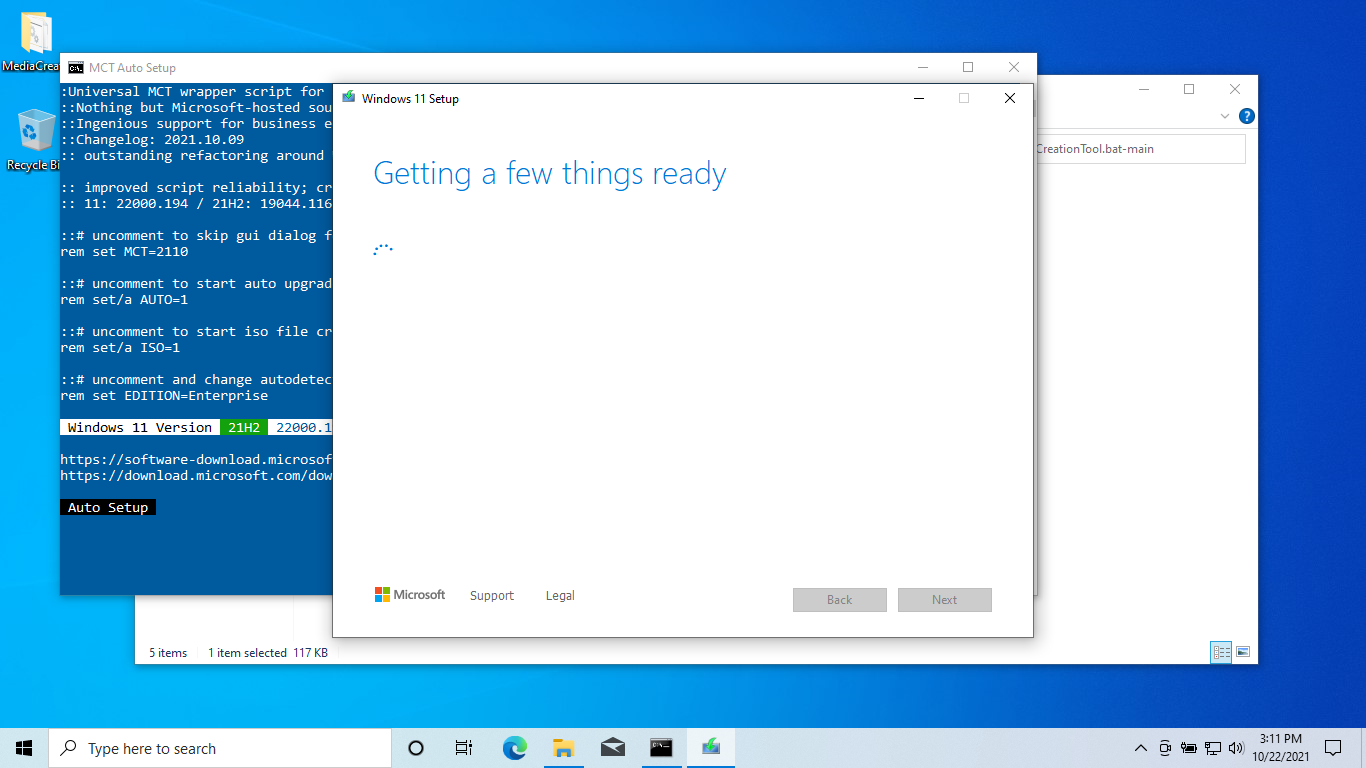
After selecting “11”, a new menu appears. Select “Auto Setup” from this list. “Create USB” is highlighted by default, but be sure to click “Auto Setup” at the top.
An “Allow” prompt will appear. Select “Yes.”
After all this, the default Windows 11 Setup program will appear!
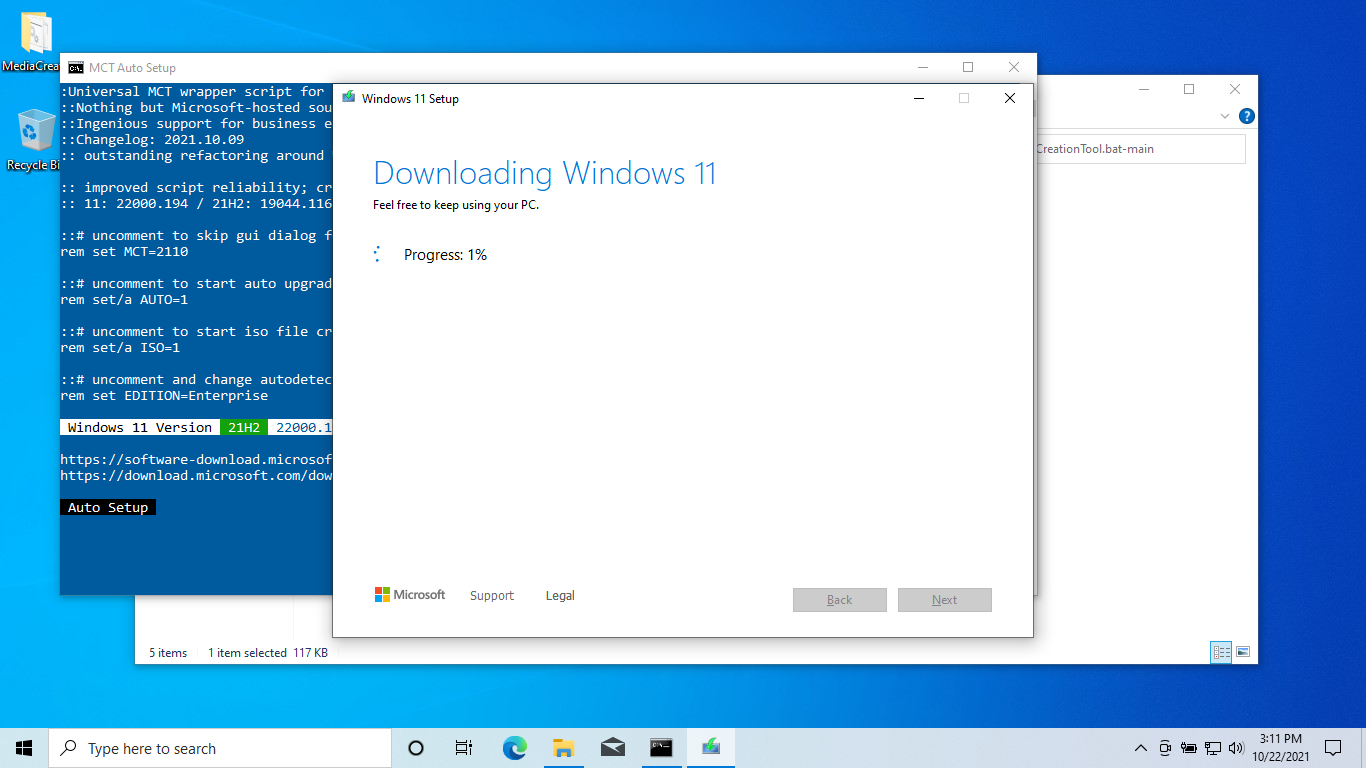
The program will then begin to download Windows 11.
It will then Verify the Download.

Next it will create the Windows 11 media.

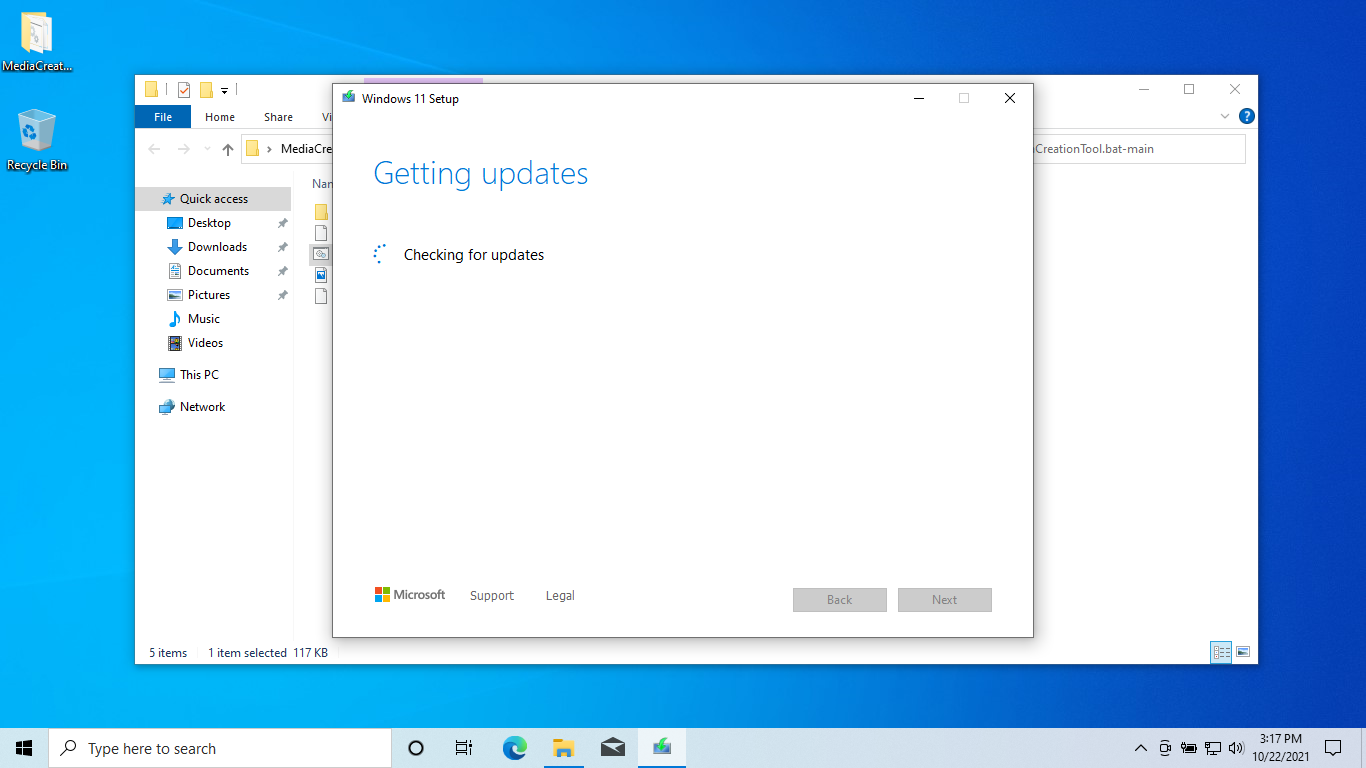
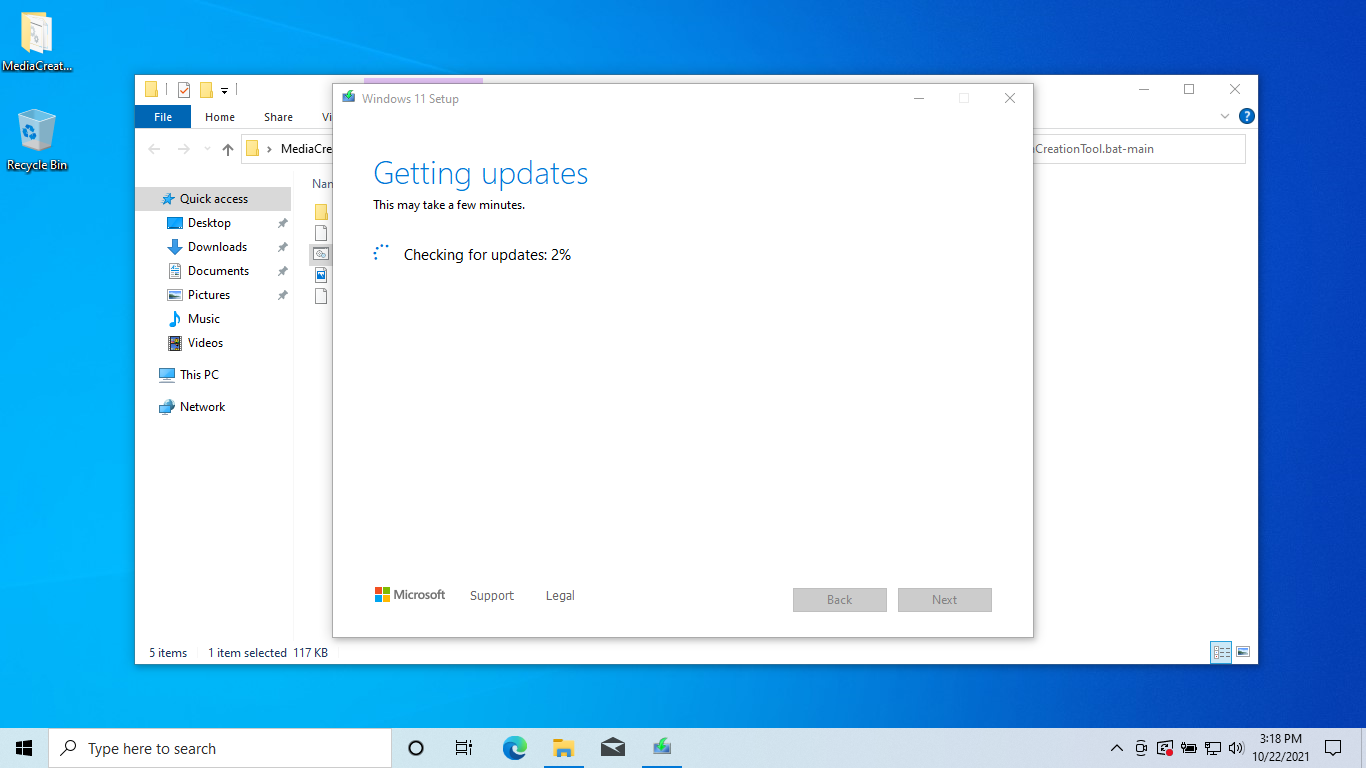
Then it will check for updates.
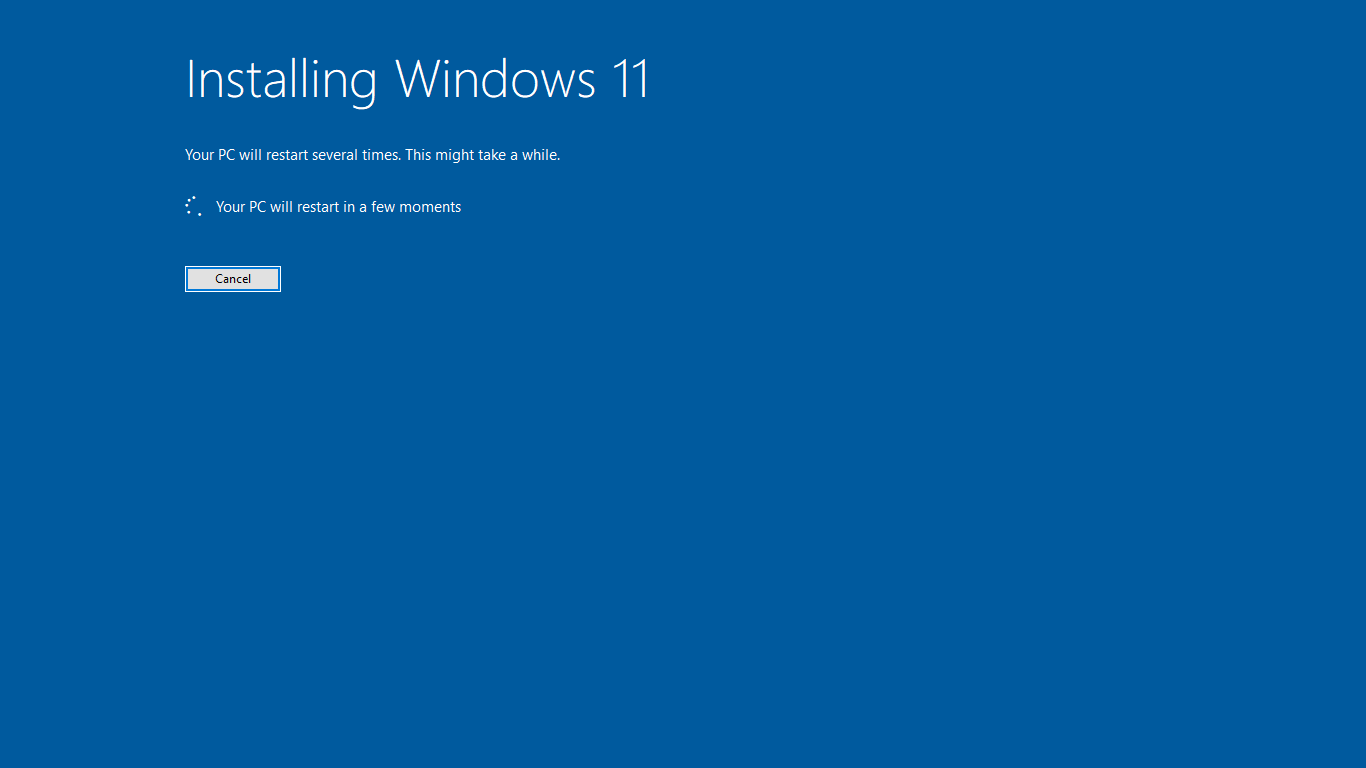
The program will then inform you it needs to restart itself to continue.

Once Windows 11 Setup restarts, it will begin “Getting things ready.”

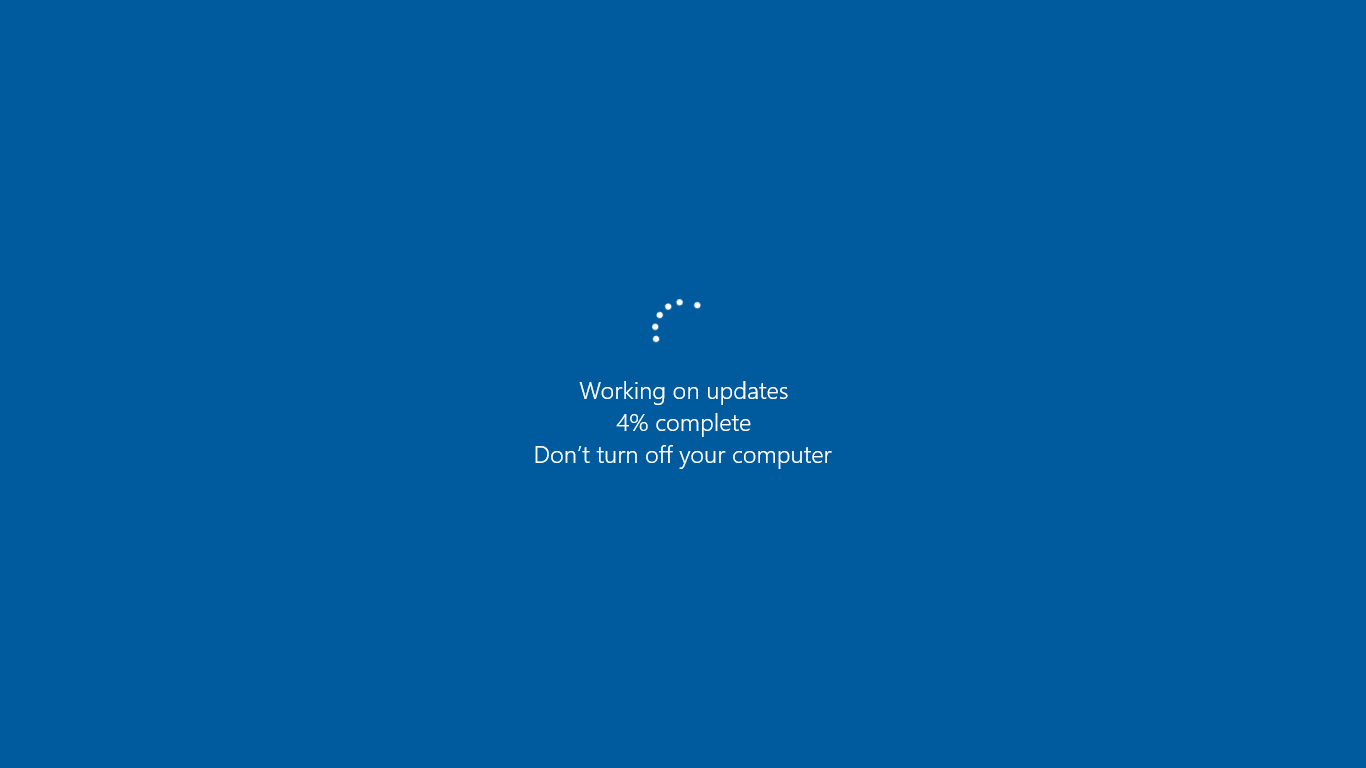
Then it will do another round of updates.
Lastly, a final step of making sure you have enough disk space.

Windows 11 Setup will then take over the entire screen. After 100% install completion, your computer will restart.
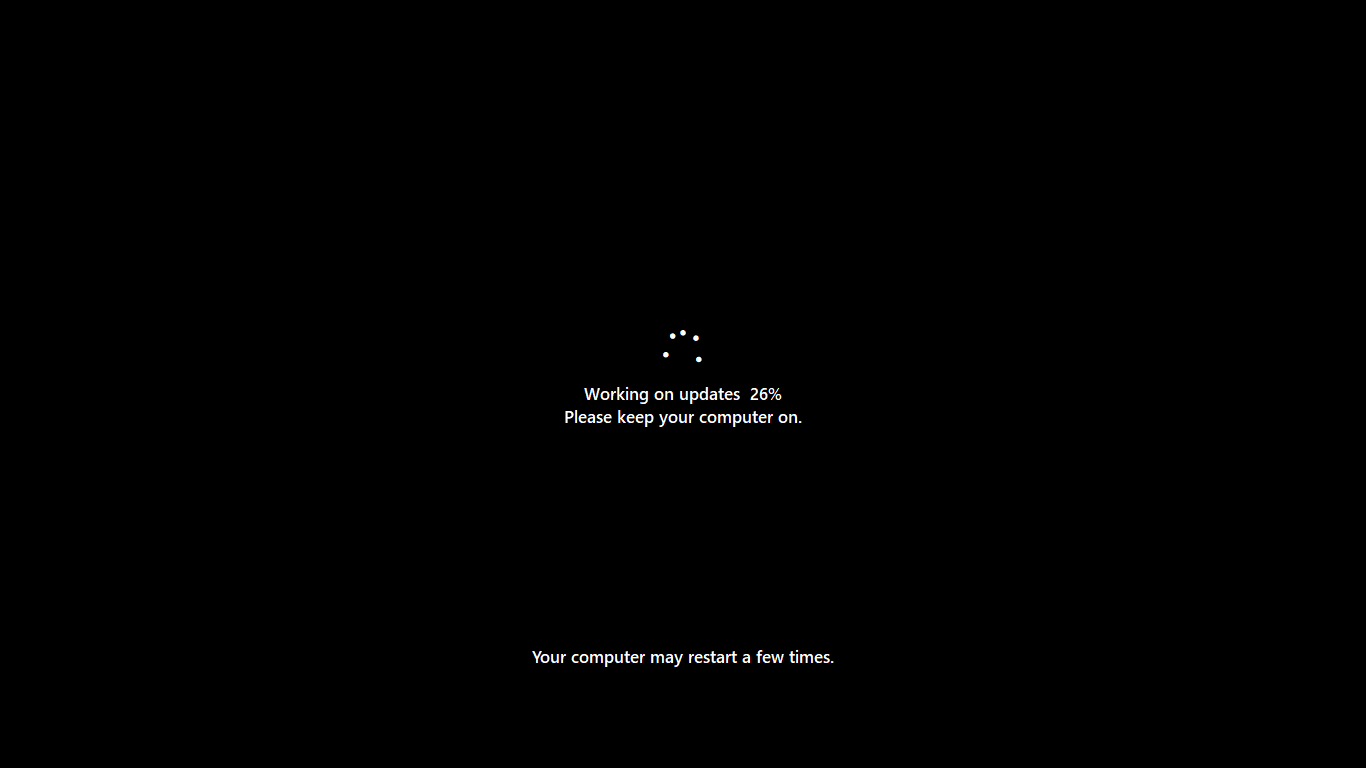
After restarting, you get a percentage-completion measure.
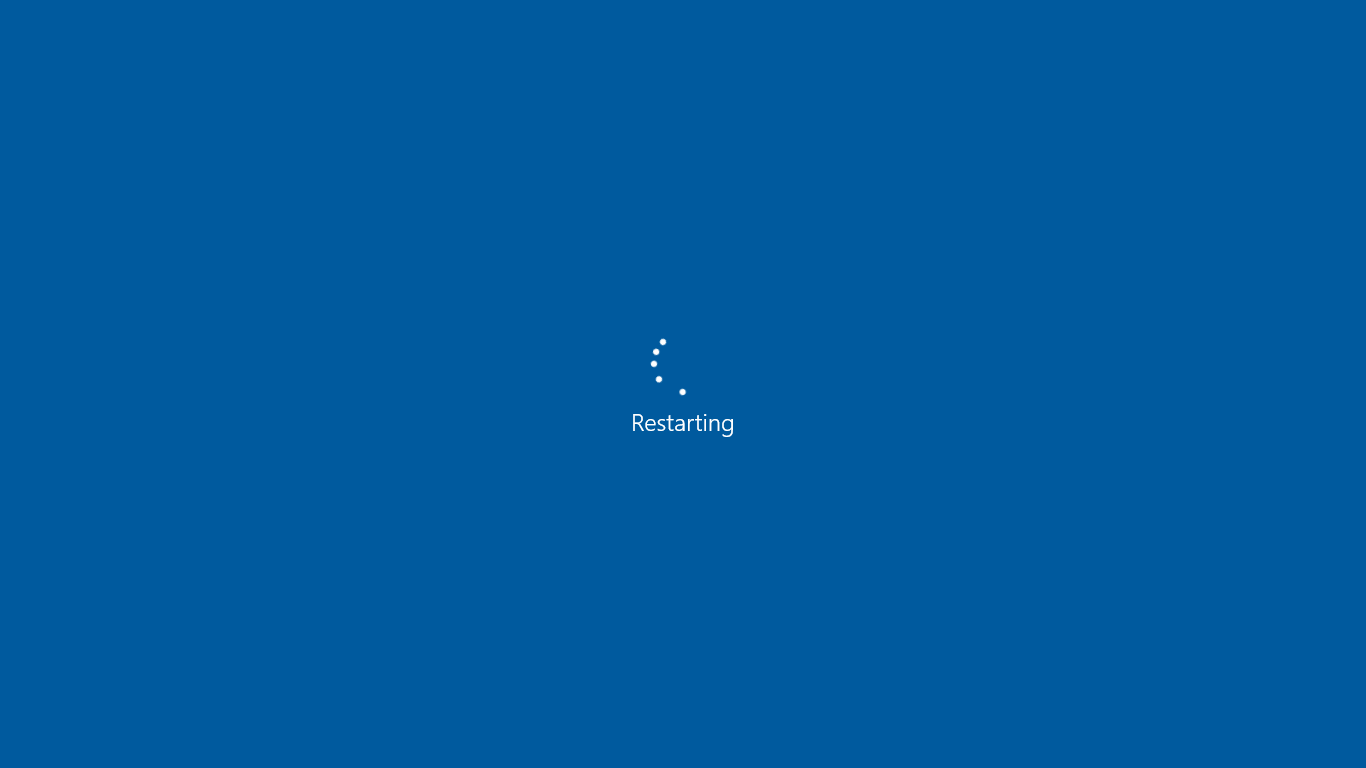
It will then restart again.
After it restarts, you should be greeted with the new Windows 11 logo!

The computer will continue working on updates.
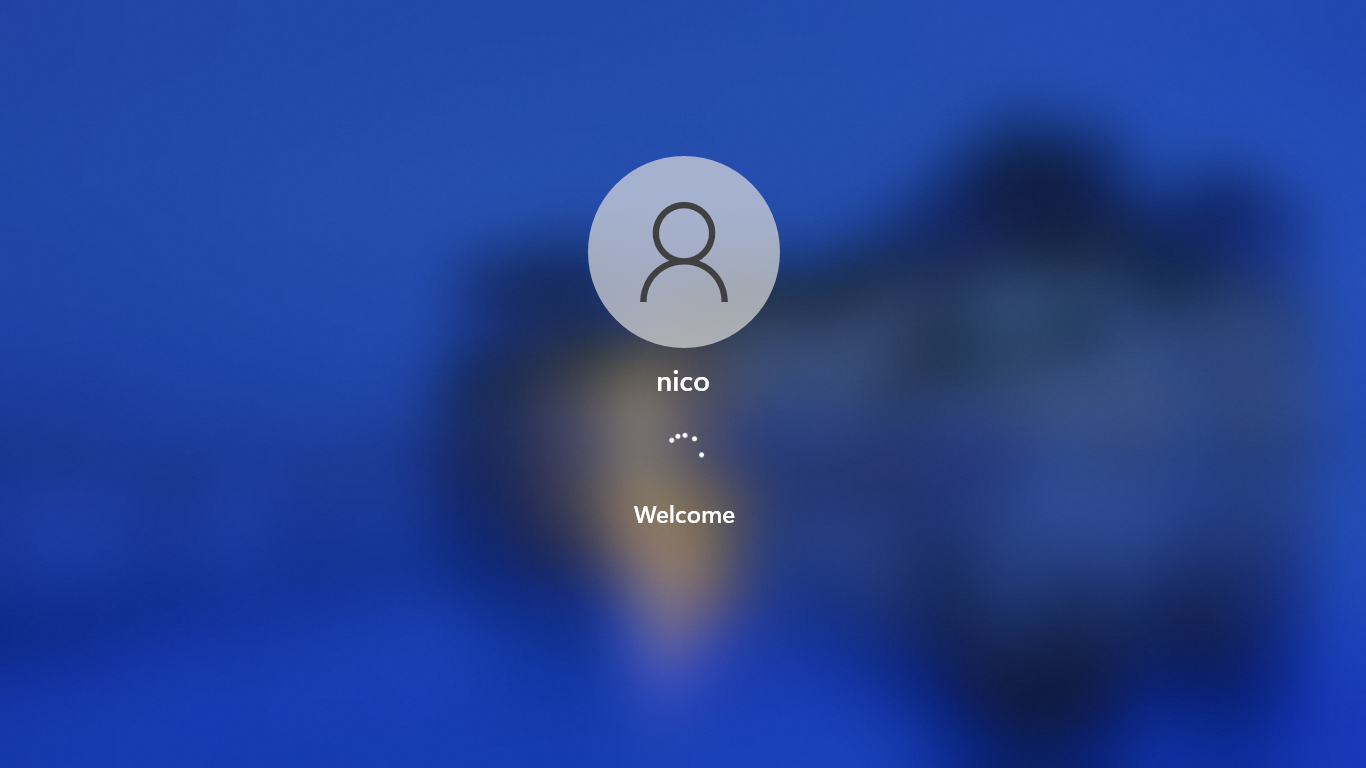
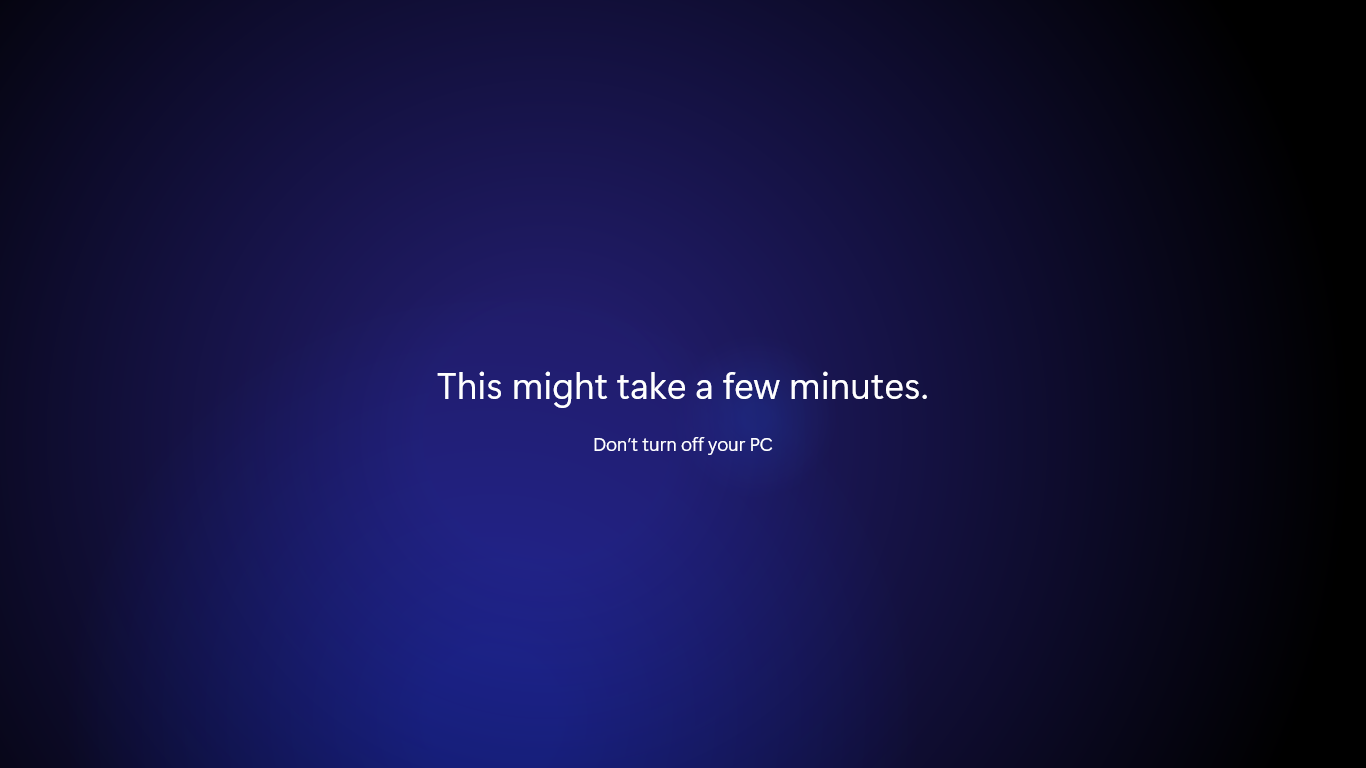
Then after another reboot, you receive a Welcome screen, followed by some “please hold” prompts.
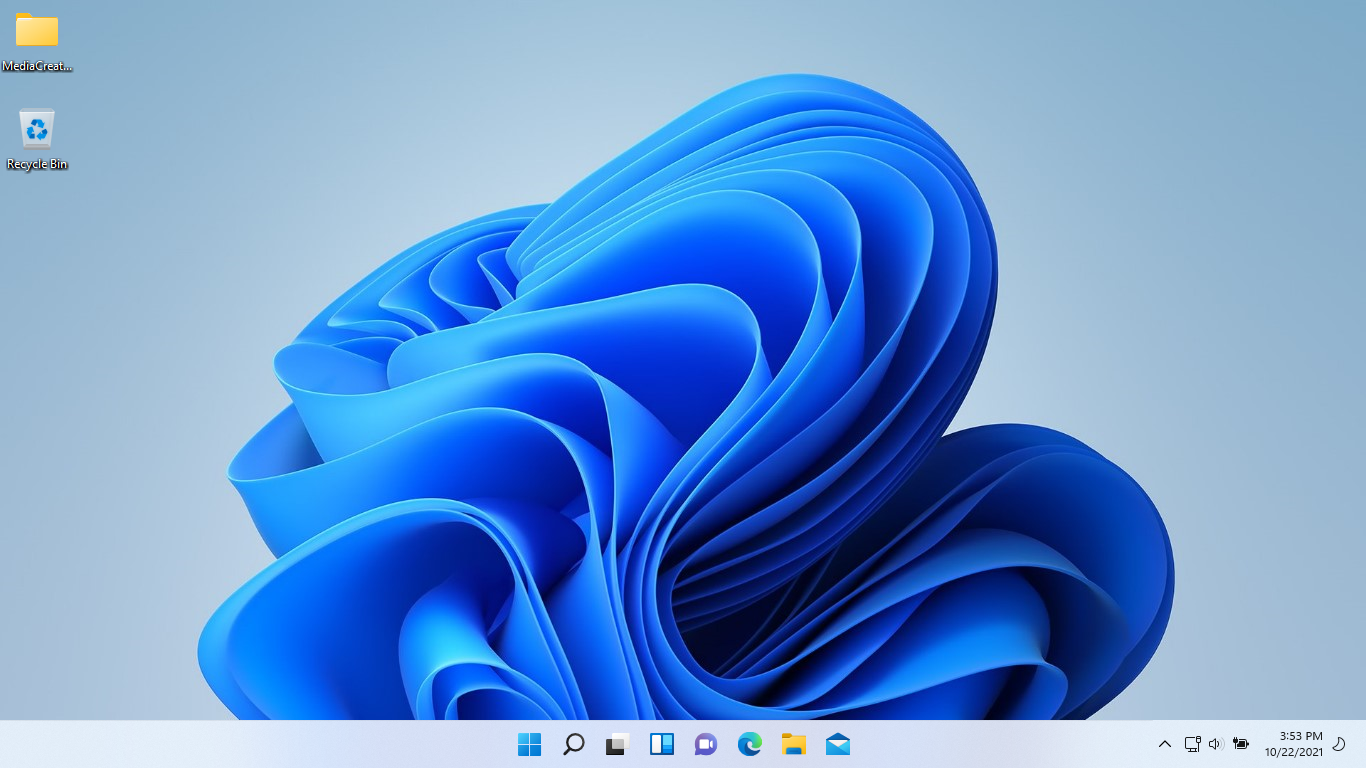
Once it is all done getting a few things ready, you will be logged in and land on your new Windows 11 desktop!
Regarding updates
I completed this upgrade process back in October 2021, and have been able to successfully run Windows Update every day automatically. Since this install method is technically a hack, the update support may suddenly end one day, but as of the writing of this post (December 2021), it is still accepting updates.
Update 10/16/2022
Windows Update is still functioning correctly.
Acknowledgements
Huge thanks to GitHub user AveYo for creating the tool that made this all possible – “MediaCreationTool.bat.” Also a big thanks to Reddit user u/AMFxC for his post explaining how he installed Windows 11 on his machine. His post is what introduced me to MediaCreationTool.bat. Lastly, thanks to Reddit user u/Alien_Drew for his take on the Windows 11 logo. I used it in this article’s feature image.
Enjoy your new Windows 11 Boot Camp install!
I’m a web developer by trade and Mac enthusiast at heart. If you ever need help with either of those things you can always reach me at nico@studioncreations.com.
11 thoughts on “Install Windows 11 on a 2015 MacBook Pro”
worked just fine here
Great! Thanks for the feedback
What model Macbook are you on?
It worked! Any tips on how to activate windows though?
That’s great! Thank you for the feedback. Other than buy a Win11 key, no, sorry, I already had my Win10 install activated. What model laptop are you on?
15inch macbook pro 2015
hello Nico, great job, thank you!
I have succesfully completed the upgrade to windows 11 on my MacBook Pro (Retina, 15-inch, Mid 2015)
Only one little lack: in windows 11 the headphone connector does not work, when I connect my headphone it doesn’t switch audio and go on with built in speakers.
All right in MacOs, instead.
Is it the same for you?
Thank you!
Hey Francesco, thanks! I’ve experienced that audio issue too. I have to open up sound preferences (right click in the start bar on the speaker icon) and switch it back and forth from there. It’s random for me though, not every time
The first two CMD files open but don’t do anything once I’ve pressed any key. Running the auto file tells me there is no sources folder. When I run the media creation tool file it just opens and closes haha. Guess this isn’t working for me 🙁
So when you double-click “No_11_Setup_Checks_v1.cmd” what exactly happens? Do you not get a pop up prompt?
still working as of now…..