
Install Windows 11 23H2 on any Intel MacBook Pro, MacBook Air or iMac
I should emphasize that I am providing these instructions so Mac users can enjoy the benefits of Windows 11 in their Boot Camp installs, not so that the product is downloaded for free.
Prerequisites of this guide
The first step to installing Windows 11 on your Mac with this guide is having Windows 10 already set up in Boot Camp. If you need help with this initial step, Apple provides instructions on its Boot Camp Support Page. This entire guide is meant to be followed while running your Windows 10 Boot Camp.
Guide Compatibility
It should be noted that in order to install any version of Windows with Boot Camp, your Mac needs to have an Intel chip. With that established, these steps should work on any Mac that can run Windows 10. This includes any MacBook Pro, MacBook Air or iMac with an Intel chip.
The Magic Tool
The program that makes installing Windows 11 on your Mac possible is called “MediaCreationTool.” I previously wrote about it in my 2021 article “Install Windows 11 on a 2015 MacBook Pro.” Since then, the program has been greatly improved and the install method is way simpler. Plus, it’s been so streamlined, I’m confident the steps will work on any Intel Mac that can run Windows 10 in Boot Camp. I’ve tested it on a 2013 iMac, 2015 MacBook Pro, 2015 MacBook Air and a 2019 MacBook Pro. As a bonus, these steps will also work for any Windows 10 virtual machine, such as those created by Parallels. Let’s get started.
Download MediaCreationTool.bat from GitHub
MediaCreationTool needs to be downloaded from its official project repo on GitHub. Don’t downloaded it from anywhere else.
The first link below is to the exact version of the program I used for this guide. Alternatively, you can use the second link, which is to the latest version of the program. Since MediaCreationTool could update at any time though and potentially break this install method, if you want to follow the steps in this guide exactly, use the first link.
Guided Version – 2024/01/04
https://github.com/AveYo/MediaCreationTool.bat/tree/2f1f304652175d1d8c9a3a2f8eff6bb0ff881b13
Latest Version
https://github.com/AveYo/MediaCreationTool.bat
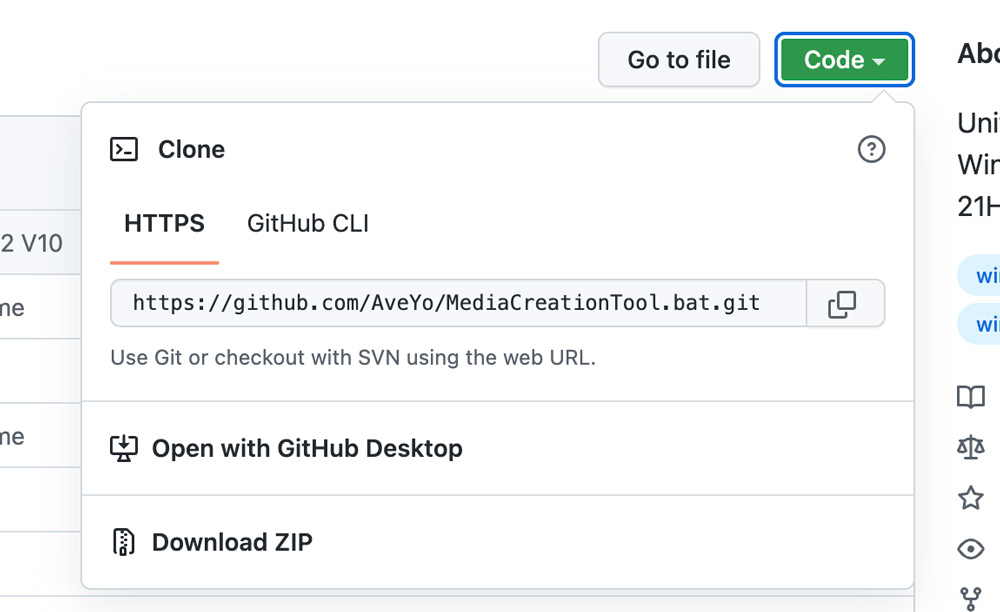
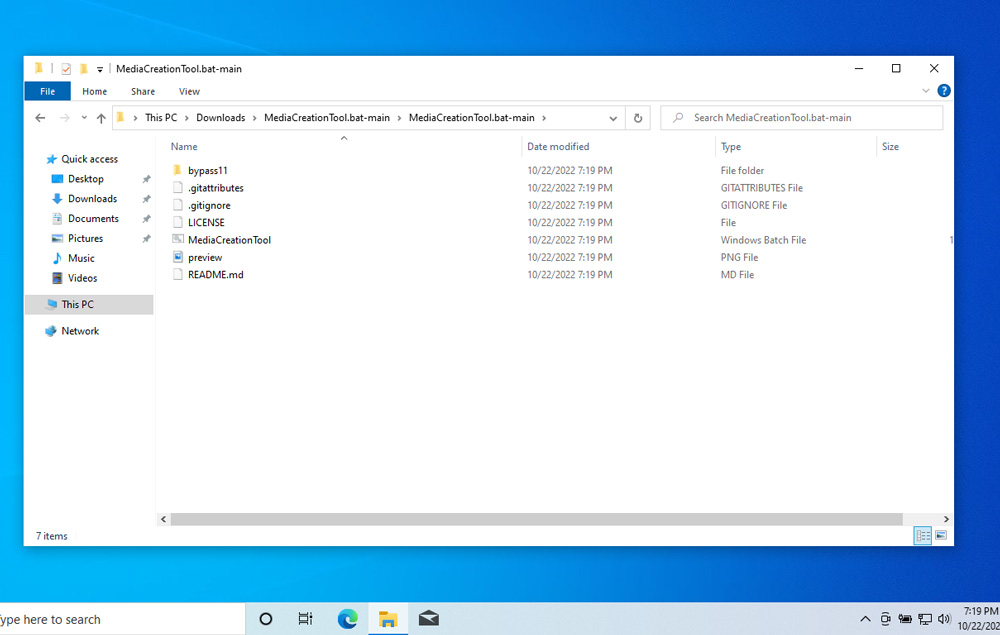
Once you’re on the program’s GitHub repo page, click the big green Code button and select “Download ZIP” from the drop-down. The image below should match what you’ve downloaded and unzipped.
Download the official Windows 11 23H2 ISO from Microsoft
Official Download Page
https://www.microsoft.com/software-download/windows11
- Scroll down to “Download Windows 11 Disk Image (ISO) for x64 devices”
- Select “Windows 11 (multi-edition ISO for x64 devices)” from the drop-down
- Click “Download Now”
- Select your language from the next drop-down
- Click “Confirm”
- Click “64-bit Download” and the ISO will begin downloading, most likely to your
Downloadsfolder
Pro Tip
Never download an ISO (a Windows file format) or DMG (a Mac file format) from a website you don’t completely trust.
Disable User Account Control (UAC)
Before using MediaCreationTool, disable User Account Control. It isn’t necessary, but it will save you from having to click confirm on a safety prompt after every single step. Open Windows Start menu, type UAC, and select “Change User Account Control settings.” Control Panel will open, and then move the slider to “Never notify” at the bottom and click OK.
Disabling User Account Control (UAC)
(If any of the Youtube videos fail to load, just refresh the page)
Time for MediaCreationTool
Unzip your downloaded folder and navigate into the directory bypass11. Double-click on Skip_TPM_Check_on_Dynamic_Update. A blue “Windows protected your PC” prompt will appear. Click “More info” and then “Run anyway.” A command prompt will appear saying “Installed.” Wait 6 seconds for the window to close on its own or hit Enter.
MediaCreationTool.bat folder and running Skip_TPM_Check_on_Dynamic_UpdateTime to install Windows 11 23H2
Locate your downloaded Windows 11 ISO (most likely it’s in your Downloads folder, right next to your MediaCreationTool.bat folder). Double-click the file – it will mount and then display its disc contents. Double-click setup, and after a brief pause, the “Install Windows 11” wizard will appear. Click “Change how Setup downloads updates” towards the top, select “Not right now”, and then “Next”. “Accept” the license, and it will then say “Making sure you’re ready to install”.
When it gets to “Ready to install”, it recaps that it will “Install Windows 11 Home” and “Keep personal files and apps”. Most likely you want to keep your existing files, but just in case you want a fully clean install, select “Change what to keep”. Finally click “Install” and a blue “Installing Windows 11” view will take over the whole screen. For the remainder of the install you don’t need to click anything.
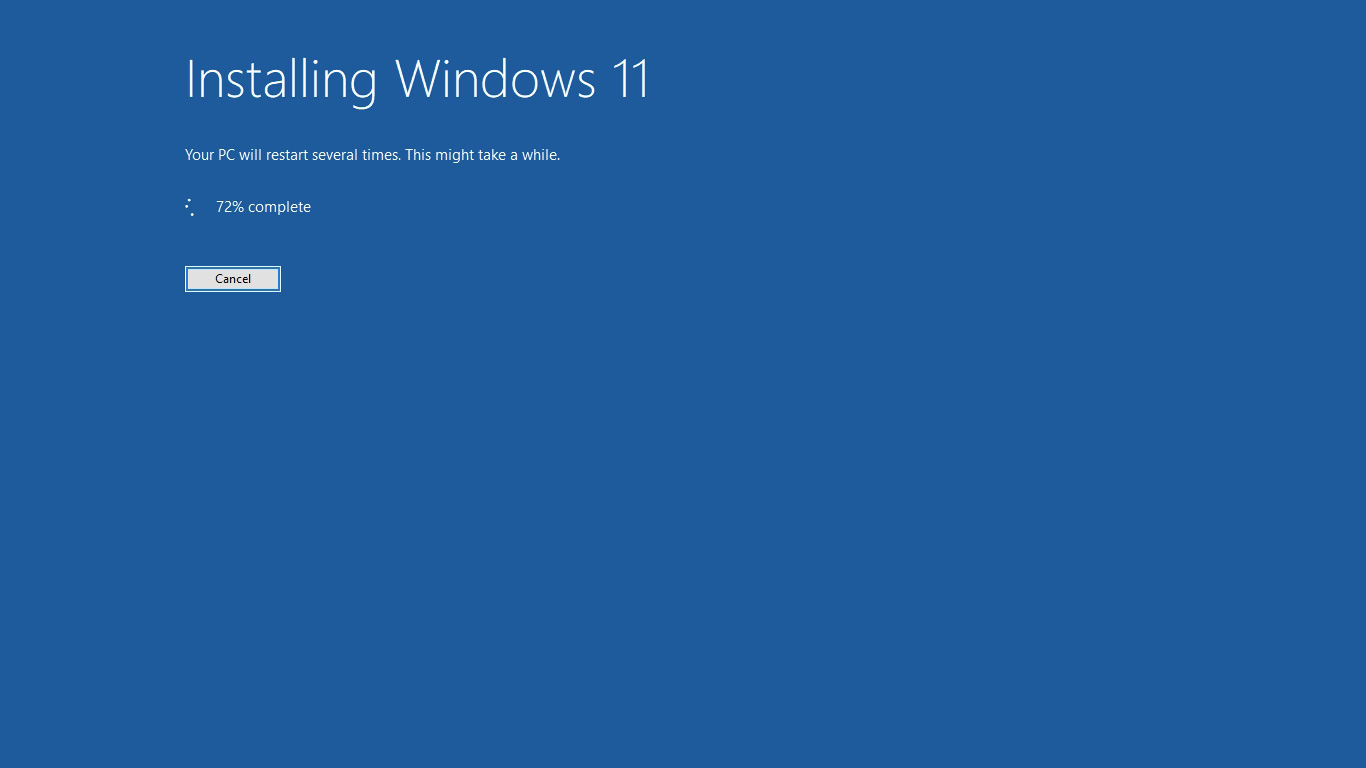
Eventually it will restart, and you will be greeted by the new Windows 11 logo.
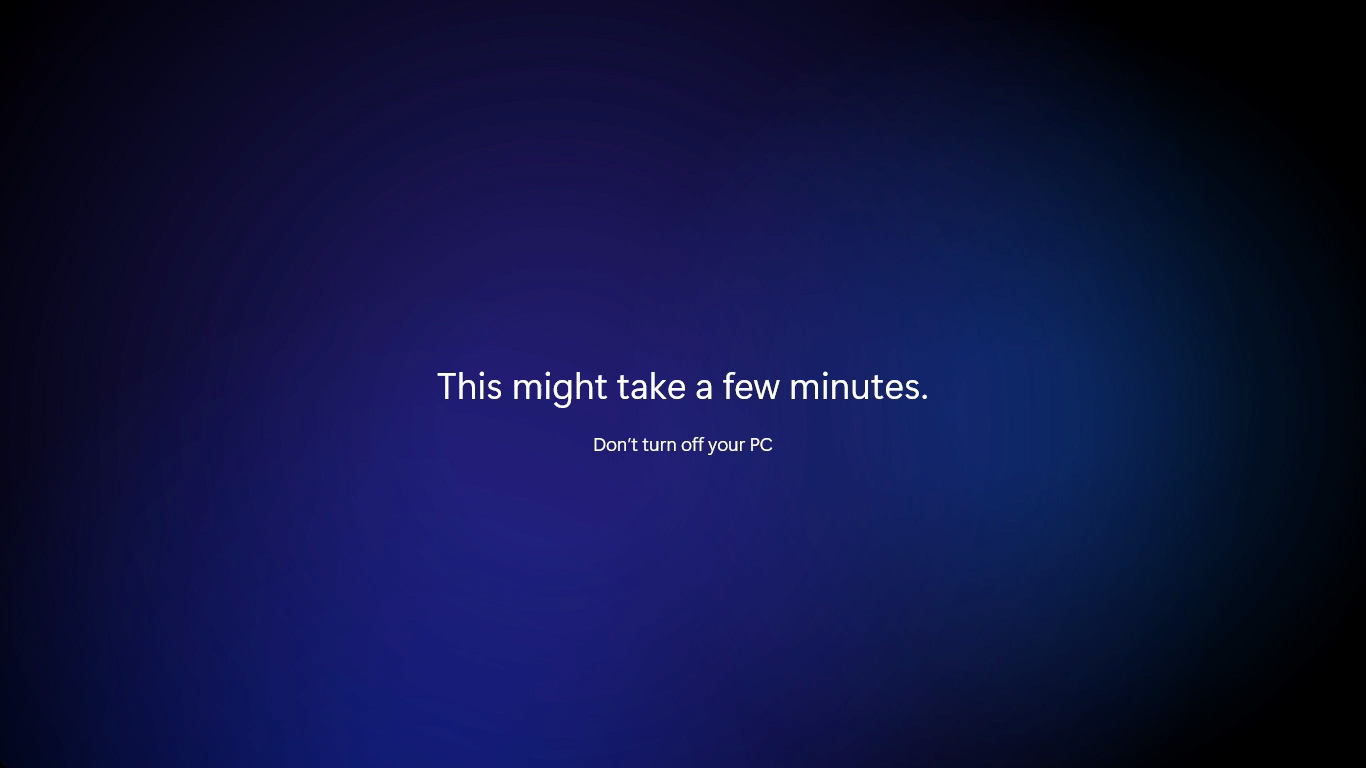
Then a black screen will appear with a “Working on updates” percentage-completion measure.
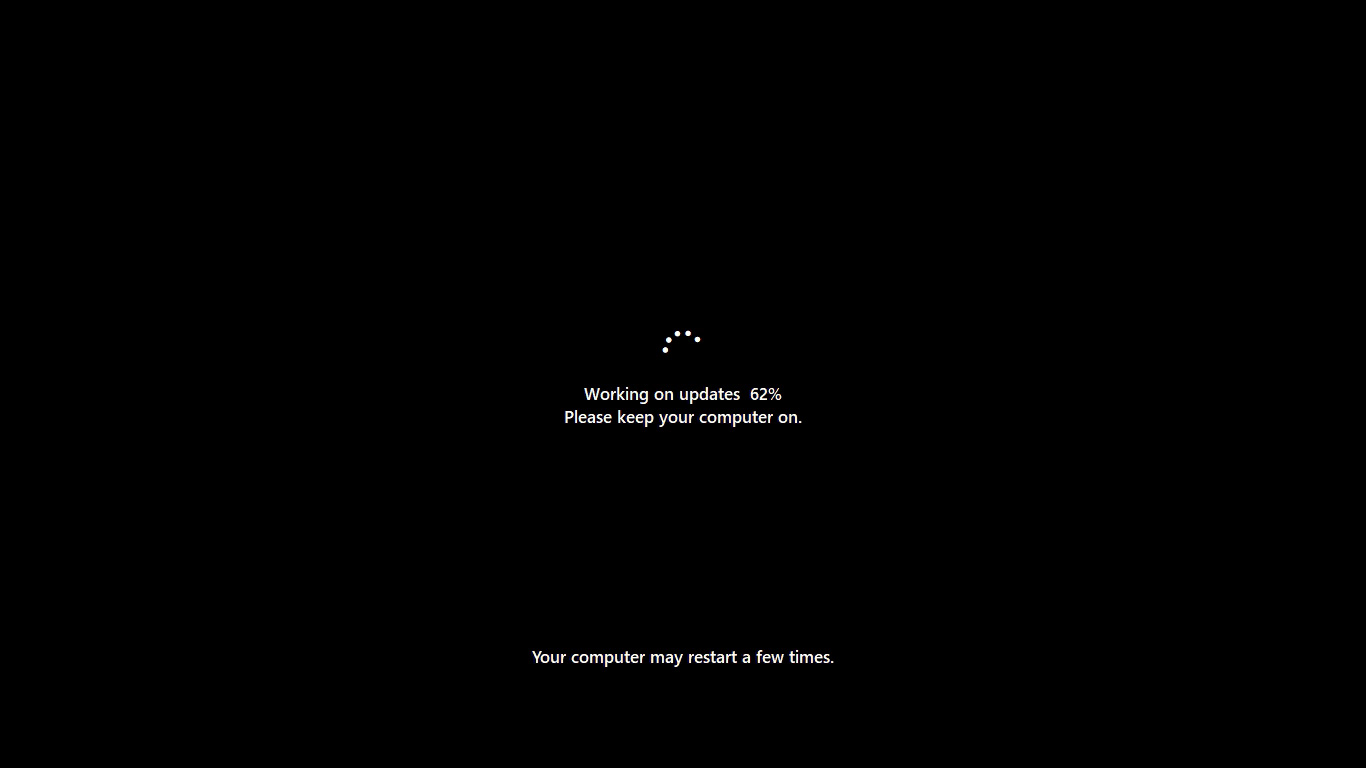
Once those updates are finished, you’ll be greeted by some “Please hold” messages over a color-changing background.
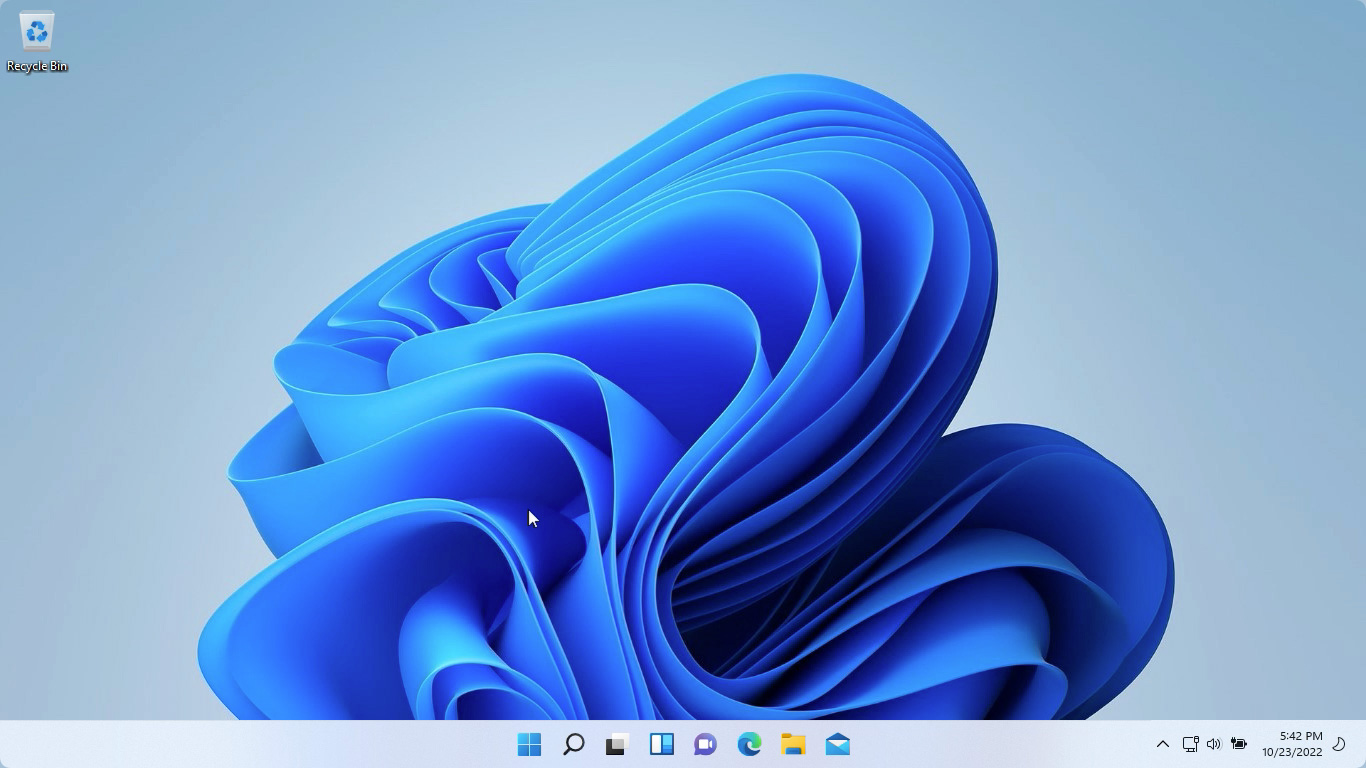
After the hold prompts are over, you’ll be logged into your new Windows 11 desktop.
If you found this guide helpful then spread the word! Enjoy your Windows 11 23H2 Boot Camp install.
I’m a web developer by trade and Mac enthusiast at heart. If you ever need help with either of those things you can always reach me at nico@studioncreations.com.
86 thoughts on “Install Windows 11 23H2 on any Intel MacBook Pro, MacBook Air or iMac”
Just a note; You can’t install windows 11 on a USB flashdrive via Bootcamp. So be sure to install it on the internal drive.
Hey I cannot play Valorant after upgrading it says TPM2.0 required any fix to enable SECURE BOOT on MacBook Pro 2017 which does not have the T2 Chip
After doing what was described here, my Mac indeed seems to have successfully updated to Windows 11. However, activation keys don’t seem to work on it. When I attempt to apply them, it says that the Windows 11 version I’m running isn’t genuine.
Super Anleitung
What a great easy to follow guide, thank you. How good is Media Creation Tool!
Installed on a base 2017 imac 5k 1TB fusion. I didn’t think I would be able to get win11 without a fresh install. Even then thinking it would be a hassle due to TPM.
Only hitch was downloading win11 stopped at 0%, restarted creation tool then all went perfectly.
Activation stayed intact. Retail key was purchased after installing bootcamp win10.
Glad it was easy to follow! Yeah Media Creation Tool is awesome
Thank you so much for putting together such a straight forward and easy to read page.
Thanks for the feedback! I’m glad it was helpful
Many thanks for this detailed installation instructions. I can confirm that « checking for updates » and « install step » seem to be stuck but ended successfully 😅
Thanks for the feedback! Glad it all worked out for you
Will I be able to activate Windows 11 after I do this?
I highly recommend activating your Windows 10 install first. Because a Win10 key also works for 11, you shouldn’t run into issues. It worked for me but that was months ago, and there’s always the risk that something has changed since then.
Thanks for posting this, Nico. I have Win 10 installed on an external SSD (Samsung T7). Should I be choosing another path than the one you suggest or is it just not do-able. I’d love to get Win 11 installed.
Hey Steve, what model Mac are you on
Many thanks for the detailed instructions, dear Nico. Successfully upgraded my MacBook Pro 2019 to Windows 11. After installation defender is showing warning for TPM. Should i fix BIOS setting or can the warning ignored.
Hi Amjad I’m glad it was helpful for you. I’d say just disregard the defender warning since it’s stating the obvious (no TPM)
Thanks
Found this page searching for if anyone else was having issues getting their Windows 10 22h2 update working on their Mac. I fired up my 2019 16″ MBP’s boot camp after a very long time this weekend. The one update that’s not going through Is the Windows 10 22h2 update.
But I came across this post and now I’m just wondering if I should just try to do windows 11 on this machine with this runaround. However, I’m worried about a few things:
1) Will I be able to do the update to Windows 11 with a Windows 10 that’s not on 22H2?
2) never had an activated Windows 10, it just had the background wallpaper saying to activate, but I never did. Will Windows 11 work the same, or will I actually have to go out and buy an activation key for that?
3) Do I need to designate enough space for my partition? I only have 130 GB set for boot camp. And I can’t remember if I can easily change that without having to do a reinstall or anything.
Hey Shahryar,
1) Yes you should be able to upgrade to Windows 11 via this method from any version of Windows 10
2) 11 will run just fine without activation. Like an unactivated 10 though, you won’t have customization options
3) To resize your bootcamp install you would need to totally remove your bootcamp drive (via Boot Camp Assistant) and then rerun the assistant to create the larger partition. Check how much free space of the 130gb you have available. That could be affecting the installation of 22h2
How to install windows 11 on Mac, without already having windows 10 installed?
I don’t think it’s possible since to get started with a Windows install you have to use Boot Camp Assistant, and Boot Camp Assistant only works with a Windows 10 ISO.
I believe though that once you have Windows 10 installed you don’t need to bother doing all of the updates it tries to get started (which will save you time), since Windows 11 is a whole new OS
Guide worked great, got windows 11 running on my 2019 MBP no issues.
Awesome! Thanks for the feedback
saya tdk dapat pembaharuan di md101 mid 2012 ada solusi .?
Will this also work with Windows 11 23H2? I heard that Microsoft has put some barriers?
I’m not totally sure, I’m out of town but will test it when I return Friday and will post back
I updated the process, in which you download the 23H2 ISO directly from Microsoft
Wow, great and much appreciated!
To clarify, you’re wondering about going from Windows 10 to Windows 11 23H2? Or updating your existing Windows 11 install to v23h2 via Windows Update?
hello
I would like to upgrade from windows 10 in Boot Camp
Go ahead and upgrade as described here. This method will install Windows 11 21H2 on your computer, and I’m in the process of writing new article about how to update to 23H2 (it’s very simple). I should have it online by tomorrow or Wednesday
Hi Nico,
Thanks for the guide. Mine seems to be hanging on a 2018 Mac Mini. Windows 10 installed via bootcamp. The MediaCreationTool works flawlessly until the section just after “Started IsoLayout” There is an indexed list of Windows 11 versions, it selects “Current edition: Professional, Regedit edition” Professional, Index: 6, Image: Professional”
Then, just beneath, it says, “Waiting for 0 seconds, press a key to continue… DONE”
If I wait, it does nothing. If I press a key, the blue terminal screen goes away and nothing else happens. What should I do?
Hey Greg, be sure you’re renaming MediaCreationTool to “auto 11 MediaCreationTool” (without quotes). That should skip the part that’s hanging for you
Same thing is happening to me… I renamed to ‘auto 11 MediaCreationTool’ but I am getting stuck at the same spot
I updated the process and it’s much simpler now. Download the Windows 11 ISO from Microsoft.com (link above in article). Since you already made the install attempt before, “skip_tpm_check” will already have been run, in which case just open your Windows 11 ISO and click “install”
Let me know if it works for you now
Thank you very much! It is so great not to have to dump older but fine working gear!
Hello and thank you for this great and simple upgrade guide !
I am following this process to upgrade my 2015 MacBookPro with Intel(R) Core(TM) i5-5287U CPU@2.90GHz, 8GB RAM and more then 100GB free disk space.
My computer is currently running perfectly with Windows 10 Pro 22H2 and BootCamp.
The process works fine until “The blue command prompt window will reappear, and then it will have a count-down timer”.
The blue command prompt windows closes… and nothing happens !
For some reason, the process stops before “checking for updates”.
Any suggestion?
Thanks for your help !
Same situation for me.
Copy the “MediaCreationTool” folder you made from the USB Stick to your local dir´sk and rund everything from there. I think this will fix this.
* i meant “local disc” …local harddrive 🙂
I’m having this issue too, is the MediaCreationTool folder being in my downloads folder, not on my “local harddrive”?
Thanks for that insight, I’ll update the article with that
I updated the process and it’s much simpler now. Download the Windows 11 ISO from Microsoft.com (link above in article). Since you already made the install attempt before, “skip_tpm_check” will already have been run, in which case just open your Windows 11 ISO and click “install”
Let me know if it works for you now
I had this issue as well, found that the script that does the regedit changes doesn’t appear to work, I looked in regedit and couldn’t see the required entries, once I did these manually all worked.
Amazing guide – thanks so much.
Like others tho, I get blocked after “burn ISO to DVD” step… I just get “DONE” and if I hit a key, it just goes back to my home screen.
What are the entries needed to add to regedit?
Thanks!
It seems like many people are having this same problem. I did too when I recently tested it again, but I found that when I renamed “MediaCreationTool” to “auto 11 MediaCreationTool” it would then work – the whole process became automated again
Did your file get renamed like described in the instructions? I’m curious to know if it then works for you
I have the same issue. I’ve tried multiple times with both versions of the tool. I have also tried with renaming and not. Always the same result.
Ok I’m going to test it again this week when I get back and will the update the article with what I find
I updated the process and it’s much simpler now. Download the Windows 11 ISO from Microsoft.com (link above in article). Since you already made the install attempt before, “skip_tpm_check” will already have been run, in which case just open your Windows 11 ISO and click “install”
Let me know if it works for you now
will this work on a MBP2012?
Hello,
can you update your article with extra steps how to install on external USB HDD, so main HDD is MacOS and External is Win11?
That’s a more complicated process, but I’m in the process of writing a detailed guide on it and will be uploading it in the near future
I was able to get to the blue screen where it installs but after it was done my screen went black like it was restarting but then nothing happened.
Update: Looks like it was actually doing something behind the scenes despite my monitor appearing as if it wasn’t. Just let it go even if your screen goes black.
HI Nico!
I ran the Media Creation Tool and installed Windows 11 (23H2) in my 2019 iMac Pro. It went without a hitch! Including downloading the Windows 11 ISO from my Windows 10 Boot Camp, the whole process took 30 minutes! (I have a great FiOS connection!) Windows 11 Pro on my iMac Pro runs BETTER than on the company-issued Microsoft Surface Pro laptop!
Thank you so much for what you do, and having this website available for die-hard Mac users who wish that Apple would keep an Intel option! (I have Parallels on my 14″ MacBook Pro with the M3 Pro, running Windows 11. It’s not the same!)
Awesome! I really really appreciate the kind words, when publishing on the internet it can often feel like you’re just writing into the void, so thank you again
Hi Nico –
I noticed a little “!” with Windows Security, so I checked it out. Under App & browser control, it says: “The settings to block potentially unwanted apps are turned off. Your device may be vulnerable.” And, under Device security, it says: “Memory integrity is off. Your device may be vulnerable.”
Any thoughts? Thanks for your insight!
Let me look into it later today and will post back
So both of those are stardard Windows 11 security features. For best security, both should be set to on. I enabled “App & browser control” without a hitch, however I’m unable to get Memory Integrity to stay enabled.
This Microsoft support page says “you must have hardware virtualization enabled in your system’s UEFI or BIOS” for Memory Integrity, so I’m going to say we can assume that won’t function on Macs.
https://support.microsoft.com/en-us/windows/core-isolation-e30ed737-17d8-42f3-a2a9-87521df09b78
A quick Google search for “windows 11 app and browser control security” can give you good sources (such as Lifewire & Make Use Of) for more info on exactly what that covers.
I appreciate the time you took to look into this. I ran into the same issue with Memory Integrity. I used the “Dismiss” option. No issues.
Thanks, Nico!
For silliness, if you run Snappy Driver Installer Origin, and install all found drivers (Intel HD Graphics 5300 won’t upgrade), you can enable Memory Integrity (Core Isolation) in the Windows Security app on a MacBook8,1.
Meaning, now the drivers survive boot without requiring and using both execute and writing permissions to a RAM page at the same time.
Yet, there is still some issue in some driver. So you’ll see PAGE_FAULT_IN_NON_PAGE_AREA blue screens after half an hour or so (maybe something with driver standby). It doesn’t clearly show which driver is actually responsible for the crash. Maybe WinDbg can sleuth it out.
Install went perfectly from Win 10 22H2 to Win 11 23H2.
However, it won’t take 2024-01 nor 2024-02 Security Updates.
Found a solution… In the latest version MediaCreationTool linked above, look in the same “bypass11” folder for “windows_update_refresh.bat.” Run that (took about 1 min), then reboot. After reboot the 2024-02 Security Update and a few other updates will be ready for you to install. After 15 minutes, I was all set on updates.
Thanks for the solution and feedback! Going to update the article and credit you
I have an iMac 2017 i5 4K (18,2) with bootcamp partition on Windows 10 22h2.
I tried the steps mentioned above, for some reason I receive an error “Installation has failed”
Ran the install multiple times same error.
I get the error after the install progress reaches 100% and the blue install screen disappears to reboot. It goes back to my windows desktop and displays the error.
My Bootcamp version is 6.1.
I have 611GB of free space.
Not sure why this isn’t working for me, any help would be greatly appreciated.
Hey 👋 does your iMac have a Fusion Drive?
Yes it does.
Note: for all macs with T2 Chip (2018-2020)
The iMac 27 2020 (iMac 20,1 and 20,2) is very good and works great (with macOS) but there are memory leak when using Windows 10/11 (BootCamp or External Windows to Go), so the paged pool (task manager-performance) keeps growing up due to T2 Chip bug which cause performance issue after 4-6 hours ok use and can’t be fixed. This issue affected all Macs With T2 Chip (2018-2020 including the Mac Pro 7,1 2019).
After deep investagation I found that the driver (AppleUSBVHCI.sys) which controls (facetime camera, speakers, headphone and Brightness of the display) causing the issue and which when you quit the music you was palying/listing (VLC, Media Palyer, Youtube etc…) to it will not free up the allocated space and keep paged pool groqing up.
This issue can’t be fixed by a driver update or by using an external usb audio card since the T2 chip will still be active/intact and managing the SSD controller.
I have an old iMac 27 2015 and it’s not affected and MacBook Pro 15 2017.
# You can install Windows 11 on any Intel Mac (2009 – 2020) by following the steps below Internal drive\USB drive supporetd:
1. Download Windwos 10 ISO from Microsoft website
2. Download Windows 11 ISO from Microsoft website
3. Create EXFat partition on the internal drive (or on USB drive) from disk utility in macOS
4. Extract (copy) all contents from Windows 10 iso to the EXFat partition
5. Go to sources\Install.Wim from EXFat partion (or USB Drive) delete this file Install.wim
6. Then mount the Windows 11 partition and copy install.wim from sources to the exFat sources (or USB Drive sources).
7. Restart your mac while holding down option/alt key and you should see a partition named EFI
(External drive]usb shows as EFI with yellow logo).
Bonjour à tout le monde. Il est important de noter que la première étape de ce processus consiste à avoir Windows 10 déjà installé sur votre Mac à l’aide de Boot Camp. Boot Camp est l’outil d’Apple permettant de créer une partition pour exécuter Windows sur un Mac, et les instructions pour cette étape initiale sont disponibles sur la page d’assistance d’Apple. Cette étape est essentielle car elle assure que votre Mac est prêt à accueillir Windows 11. Le guide recommande l’utilisation du programme MediaCreationTool pour l’installation de Windows 11. Ce programme, que l’auteur a déjà détaillé dans un article de 2021, a été amélioré pour simplifier le processus. Selon les tests effectués sur plusieurs modèles de Mac, y compris l’iMac 2013, le MacBook Pro 2015, et le MacBook Air 2015, cette méthode est fiable et fonctionnelle. De plus, elle est également applicable pour des environnements de virtualisation univirtual tels que les machines virtuelles créées par des outils comme Parallels. Il est également utile de noter que ces étapes fonctionneront pour n’importe quelle machine virtuelle exécutant Windows 10, ce qui est pertinent pour ceux qui utilisent des environnements virtualisés ou des solutions de cloud computing pour leurs besoins professionnels. Que vous soyez dans un cadre de télétravail univirtual, de transformation digitale, ou d’infogérance, cette méthode peut s’intégrer dans votre flux de travail numérique tout en assurant la compatibilité et l’efficacité de vos outils logiciels.
Wow, “The Magic Tool”, wow “MediaCreationTool.bat from GitHub”, wow “Disabling User Account Control”, listen, why don’t I just give you all my bank accounts, secret credit card numbers and passwords for all the sites, huh? That would make it a lot easier for both of us, wouldn’t it?
u so dumb dude…
hi Nico, after installation of win 11 on win 10 by your way above there is still issue
the previous installed drivers in bootcamp were win 10 drivers so if you install win 11 there is issues because there is no drivers for win 11 on bootcamp so wouid not work properly
please your advice
Thanks for these clear instructions. Updated Windows 10 Pro to 11 Pro on Bootcamp Macbook Air 11in 2012 (i7/8GB) and runs fine.
My Mid 2025 MBP ran into this message “The PC must support Secure Boot” and stops there. What Could I do?
Hi Nico,
Followed your instructions for upgrading my iMac late 2013, Bootcamp Windows 10 to Windows 11 but am failing at the first stage of Setup – Checking PC – this PC must support Secure Boot
Any suggestions most welcome
Cheers
Ian
same issue
This does not work. getting an error: “The PC must support Secure Boot”
Getting a secure boot not supported error on a 2017 iMac with a fusion drive running Win10 on Bootcamp. Any solution to disabling that like the TPM?
Hi guys. The problem with the builds. I used the 2021 build. I have installed windows 11. Try to find the 2021 or 2022 build.
Where did you find an old build that displays the modern setup/install windows, as seen in the Videos on this tutorial? All I can find are .ISO’s that immediately boot you into the full-screen install window.
Like does anyone know what we should even Google to find a 23H2 version of the ISO with these smaller windows that pop up that say things like “Get updates, drivers and optional features” and “Making sure you’re ready to install” ??
OK Guys I found/uploaded a 23H2 ISO that works. Enjoy!
https://archive.org/details/en-us_windows_11_consumer_editions_version_23h2_x64_dvd_8ea907fb
SHA256: 71a7ae6974866603d366a911b0c00eace476e0b49d12205d7529765cc50b4b39
ACTUALLY you can bypass the Secure Boot requirement as well, using Windows-11-Registry-Bypass from GitHub! I’m installing 24H2 right now.
Hi Nico,
Thanks for your efforts and this well documented steps.
I have a 2020 MacBook Pro where i run Windows 10 Pro via bootcamp. Will I be able to use this method to upgrade my Windows 10 Pro to Windows 11 Pro? And after the upgrade will i be able to download Window 11 Security updates as they are relased?
Another this will I be able to rollback if the upgrade process fails?
Thanks for the great efforts. I just install Windows 11 24H2, everything works great except Thunderbolt which the bootcamp drive did not work in Windows 11 24H2. Any idea?